Get started with DMR
Docker Model Runner (DMR) lets you run and manage AI models locally using Docker. This page shows you how to enable DMR, pull and run a model, configure model settings, and publish custom models.
Enable Docker Model Runner
You can enable DMR using Docker Desktop or Docker Engine. Follow the instructions below based on your setup.
Docker Desktop
- In the settings view, go to the AI tab.
- Select the Enable Docker Model Runner setting.
- If you use Windows with a supported NVIDIA GPU, you also see and can select Enable GPU-backed inference.
- Optional: To enable TCP support, select Enable host-side TCP support.
- In the Port field, type the port you want to use.
- If you interact with Model Runner from a local frontend web app, in
CORS Allows Origins, select the origins that Model Runner should
accept requests from. An origin is the URL where your web app runs, for
example
http://localhost:3131.
You can now use the docker model command in the CLI and view and interact
with your local models in the Models tab in the Docker Desktop Dashboard.
Docker Engine
Ensure you have installed Docker Engine.
Docker Model Runner is available as a package. To install it, run:
$ sudo apt-get update
$ sudo apt-get install docker-model-plugin
$ sudo dnf update $ sudo dnf install docker-model-pluginTest the installation:
$ docker model version
$ docker model run ai/smollm2
NoteTCP support is enabled by default for Docker Engine on port
12434.
Update DMR in Docker Engine
To update Docker Model Runner in Docker Engine, uninstall it with
docker model uninstall-runner
then reinstall it:
docker model uninstall-runner --images && docker model install-runnerNoteWith the above command, local models are preserved. To delete the models during the upgrade, add the
--modelsoption to theuninstall-runnercommand.
Pull a model
Models are cached locally.
NoteWhen you use the Docker CLI, you can also pull models directly from HuggingFace.
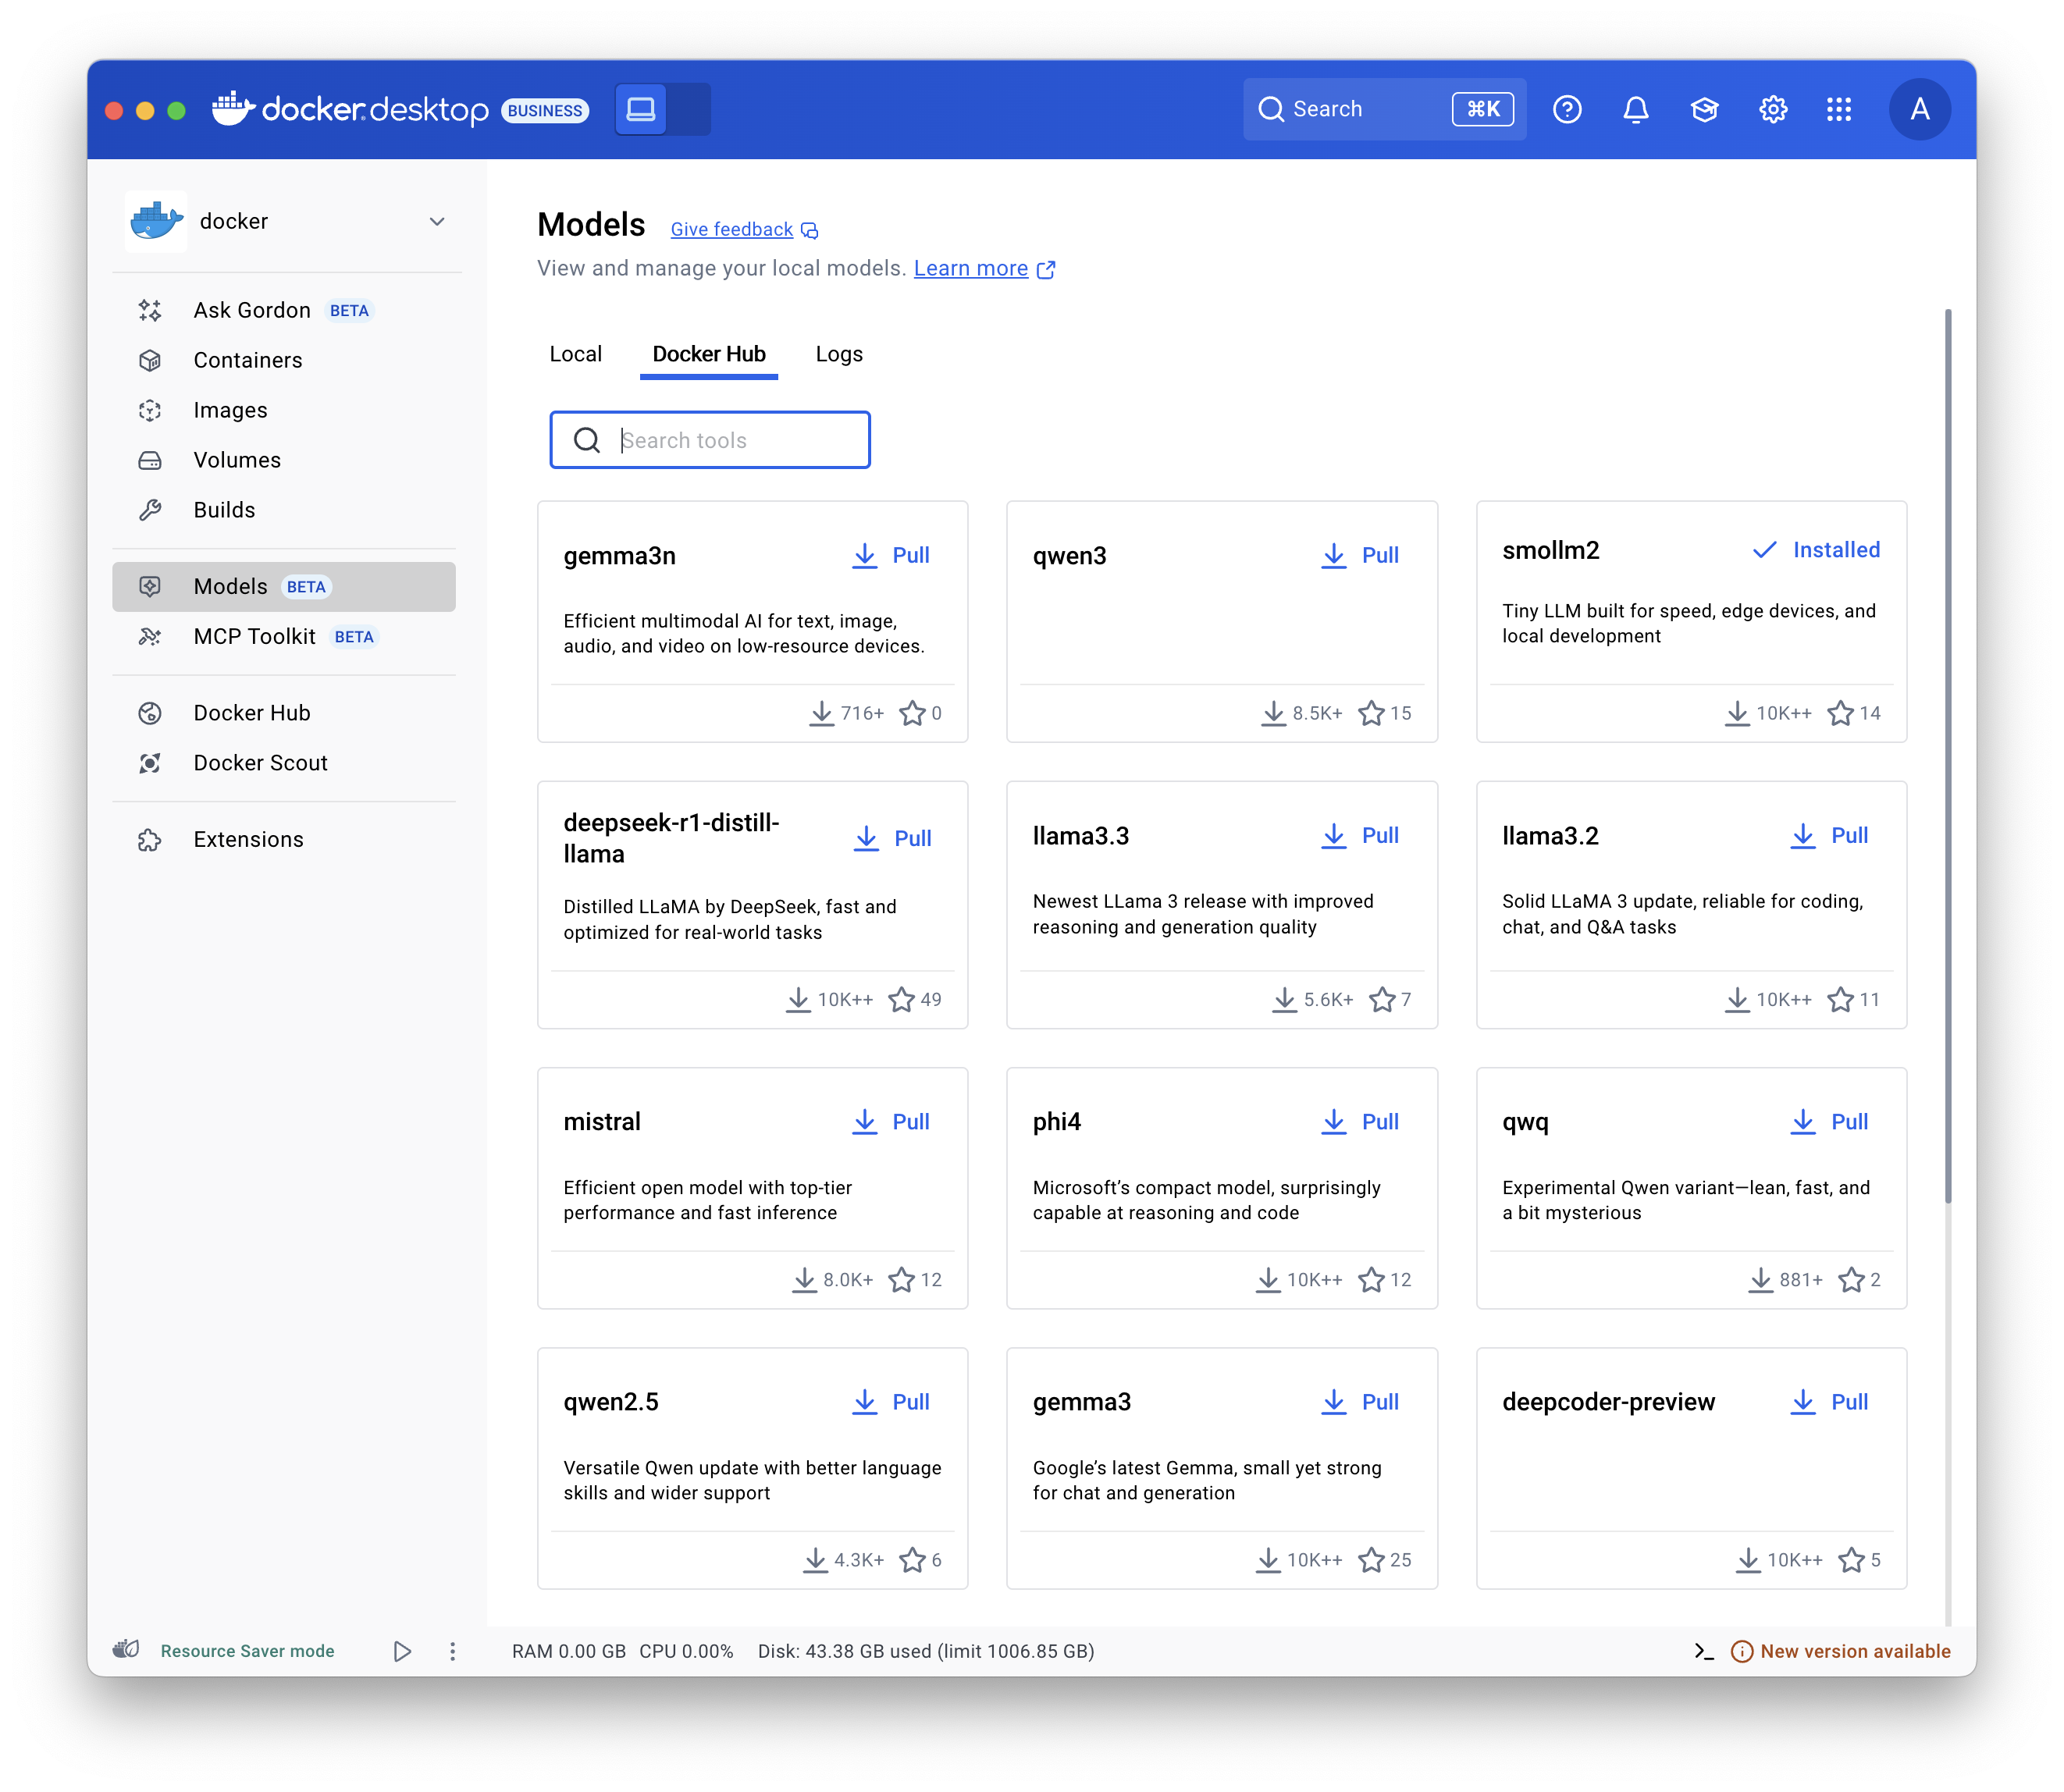
- Select Models and select the Docker Hub tab.
- Find the model you want and select Pull.
Use the
docker model pull command.
For example:
docker model pull ai/smollm2:360M-Q4_K_Mdocker model pull hf.co/bartowski/Llama-3.2-1B-Instruct-GGUFRun a model
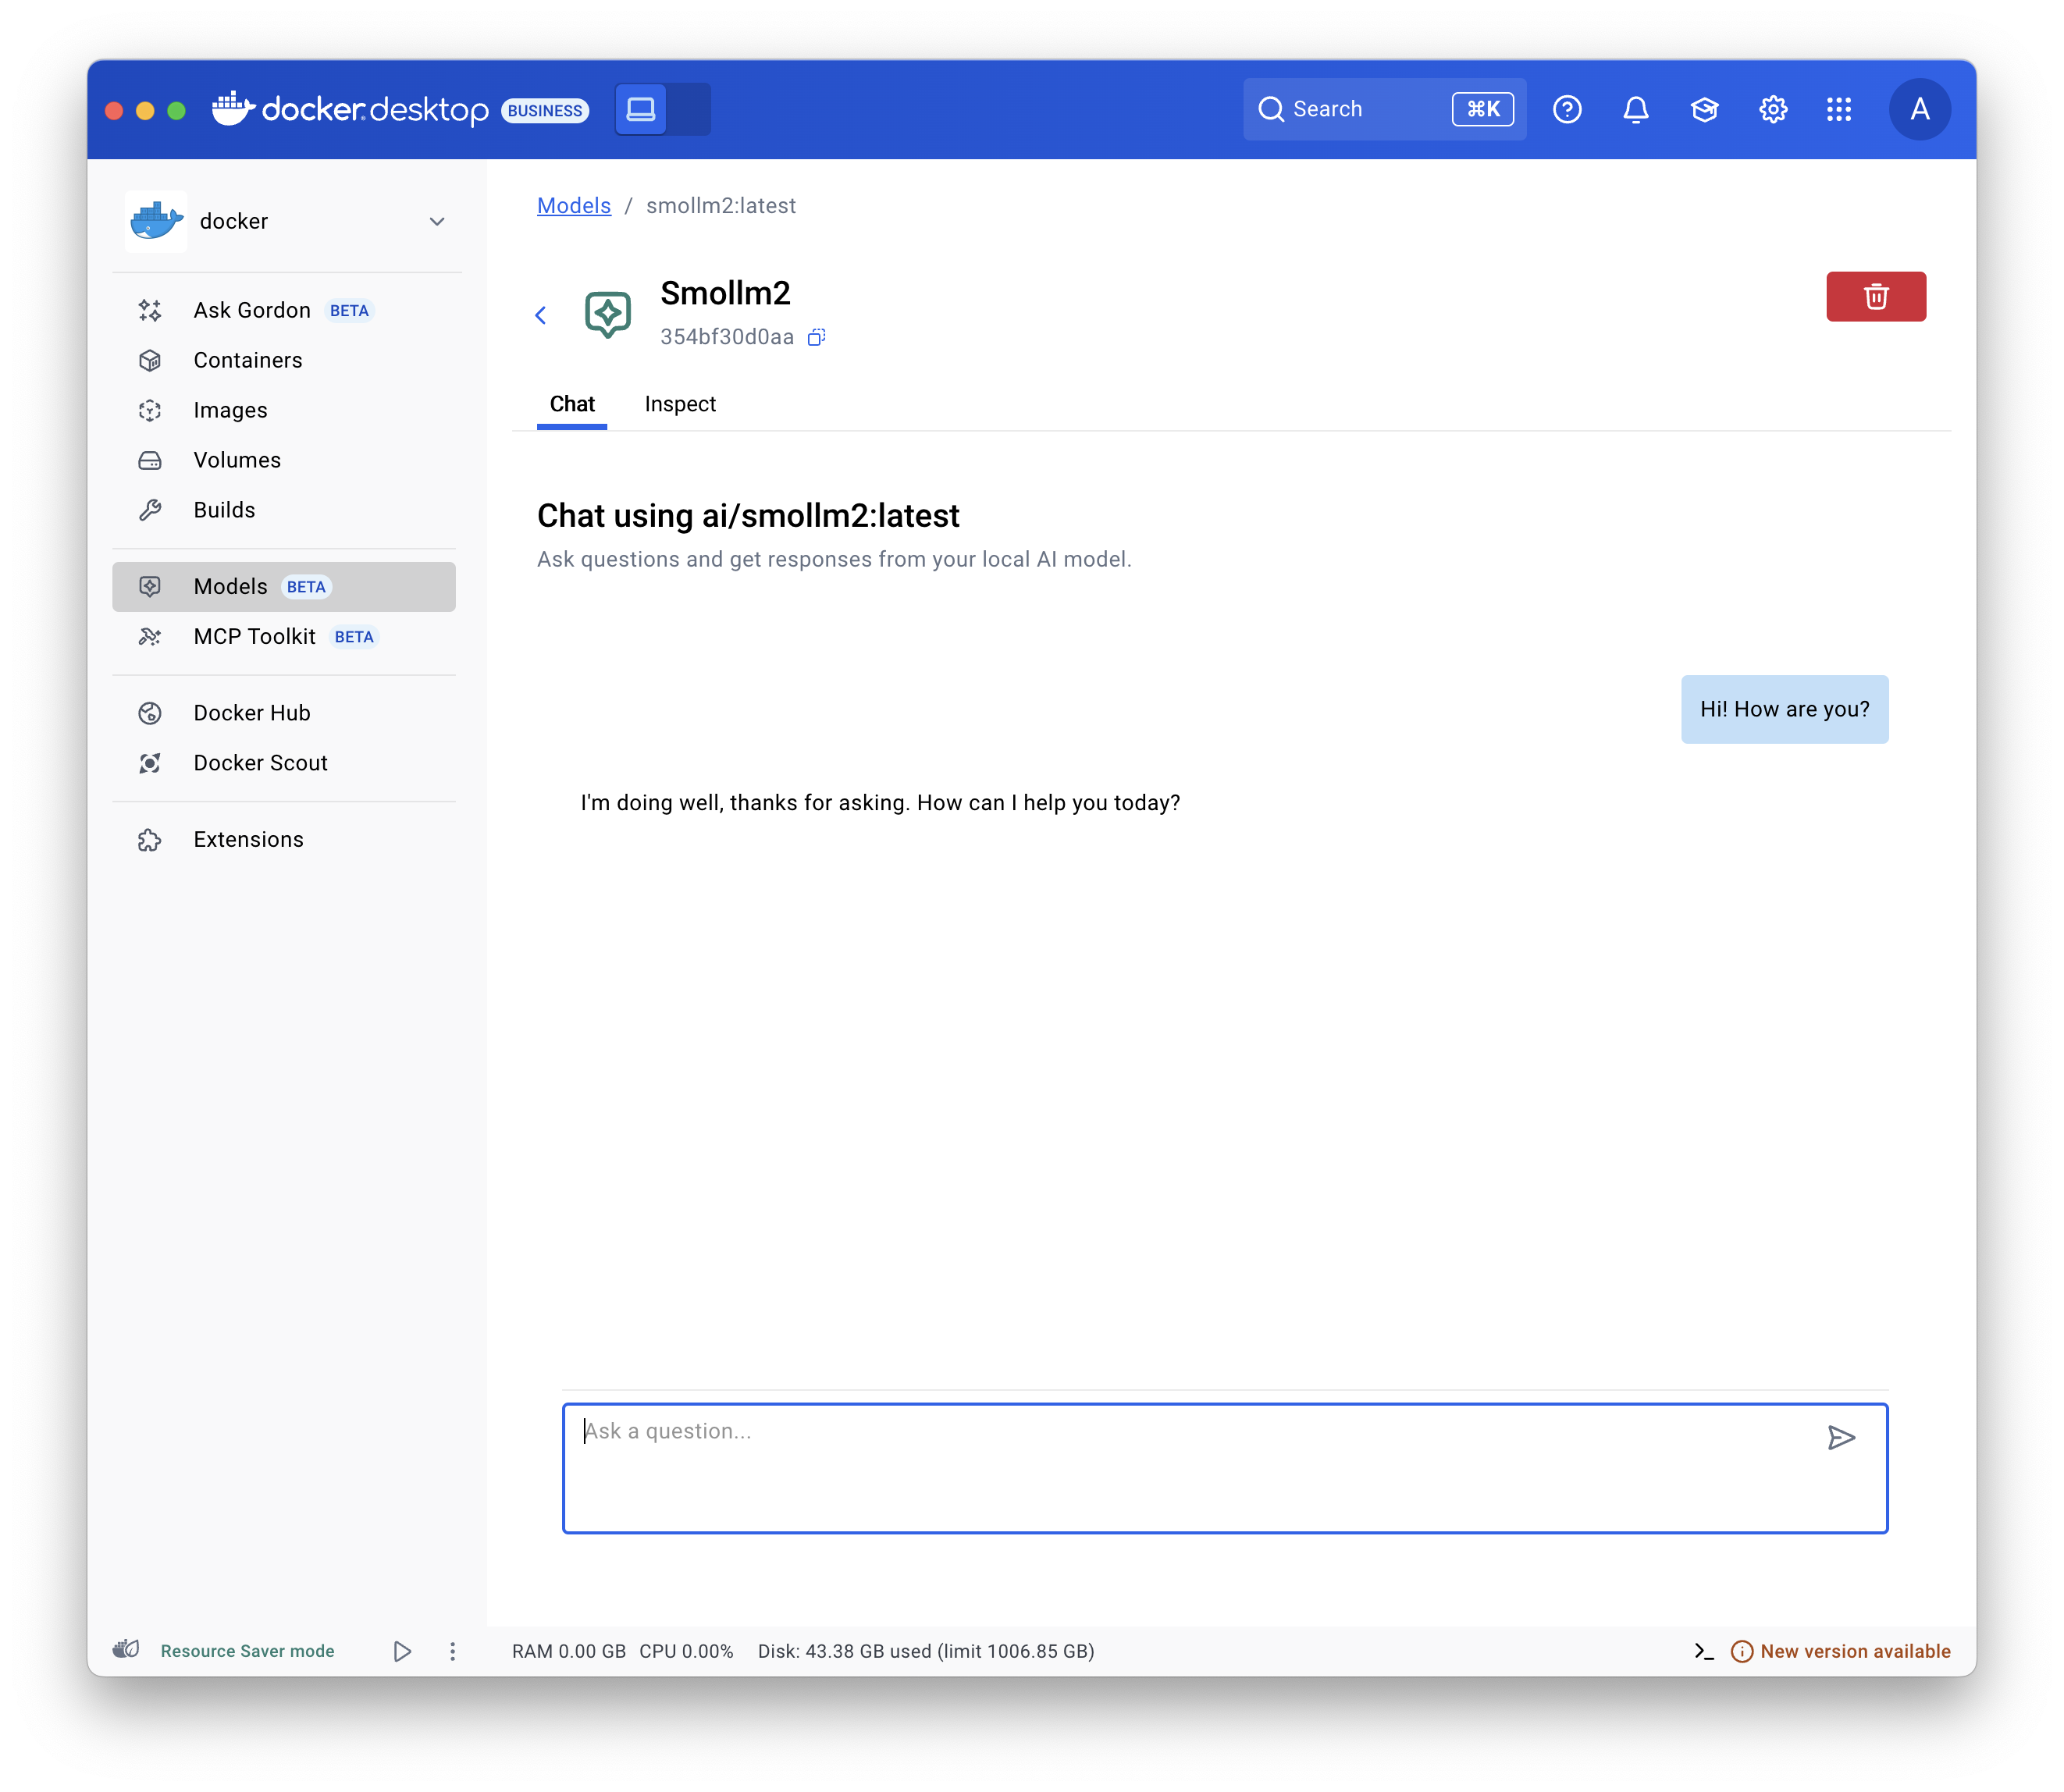
- Select Models and select the Local tab.
- Select the play button. The interactive chat screen opens.
Use the
docker model run command.
Configure a model
You can configure a model, such as its maximum token limit and more, use Docker Compose. See Models and Compose - Model configuration options.
Publish a model
NoteThis works for any Container Registry supporting OCI Artifacts, not only Docker Hub.
You can tag existing models with a new name and publish them under a different namespace and repository:
# Tag a pulled model under a new name
$ docker model tag ai/smollm2 myorg/smollm2

# Push it to Docker Hub
$ docker model push myorg/smollm2
For more details, see the
docker model tag
and
docker model push command
documentation.
You can also package a model file in GGUF format as an OCI Artifact and publish it to Docker Hub.
# Download a model file in GGUF format, for example from HuggingFace
$ curl -L -o model.gguf https://huggingface.co/TheBloke/Mistral-7B-v0.1-GGUF/resolve/main/mistral-7b-v0.1.Q4_K_M.gguf

# Package it as OCI Artifact and push it to Docker Hub
$ docker model package --gguf "$(pwd)/model.gguf" --push myorg/mistral-7b-v0.1:Q4_K_M
For more details, see the
docker model package command
documentation.
Troubleshooting
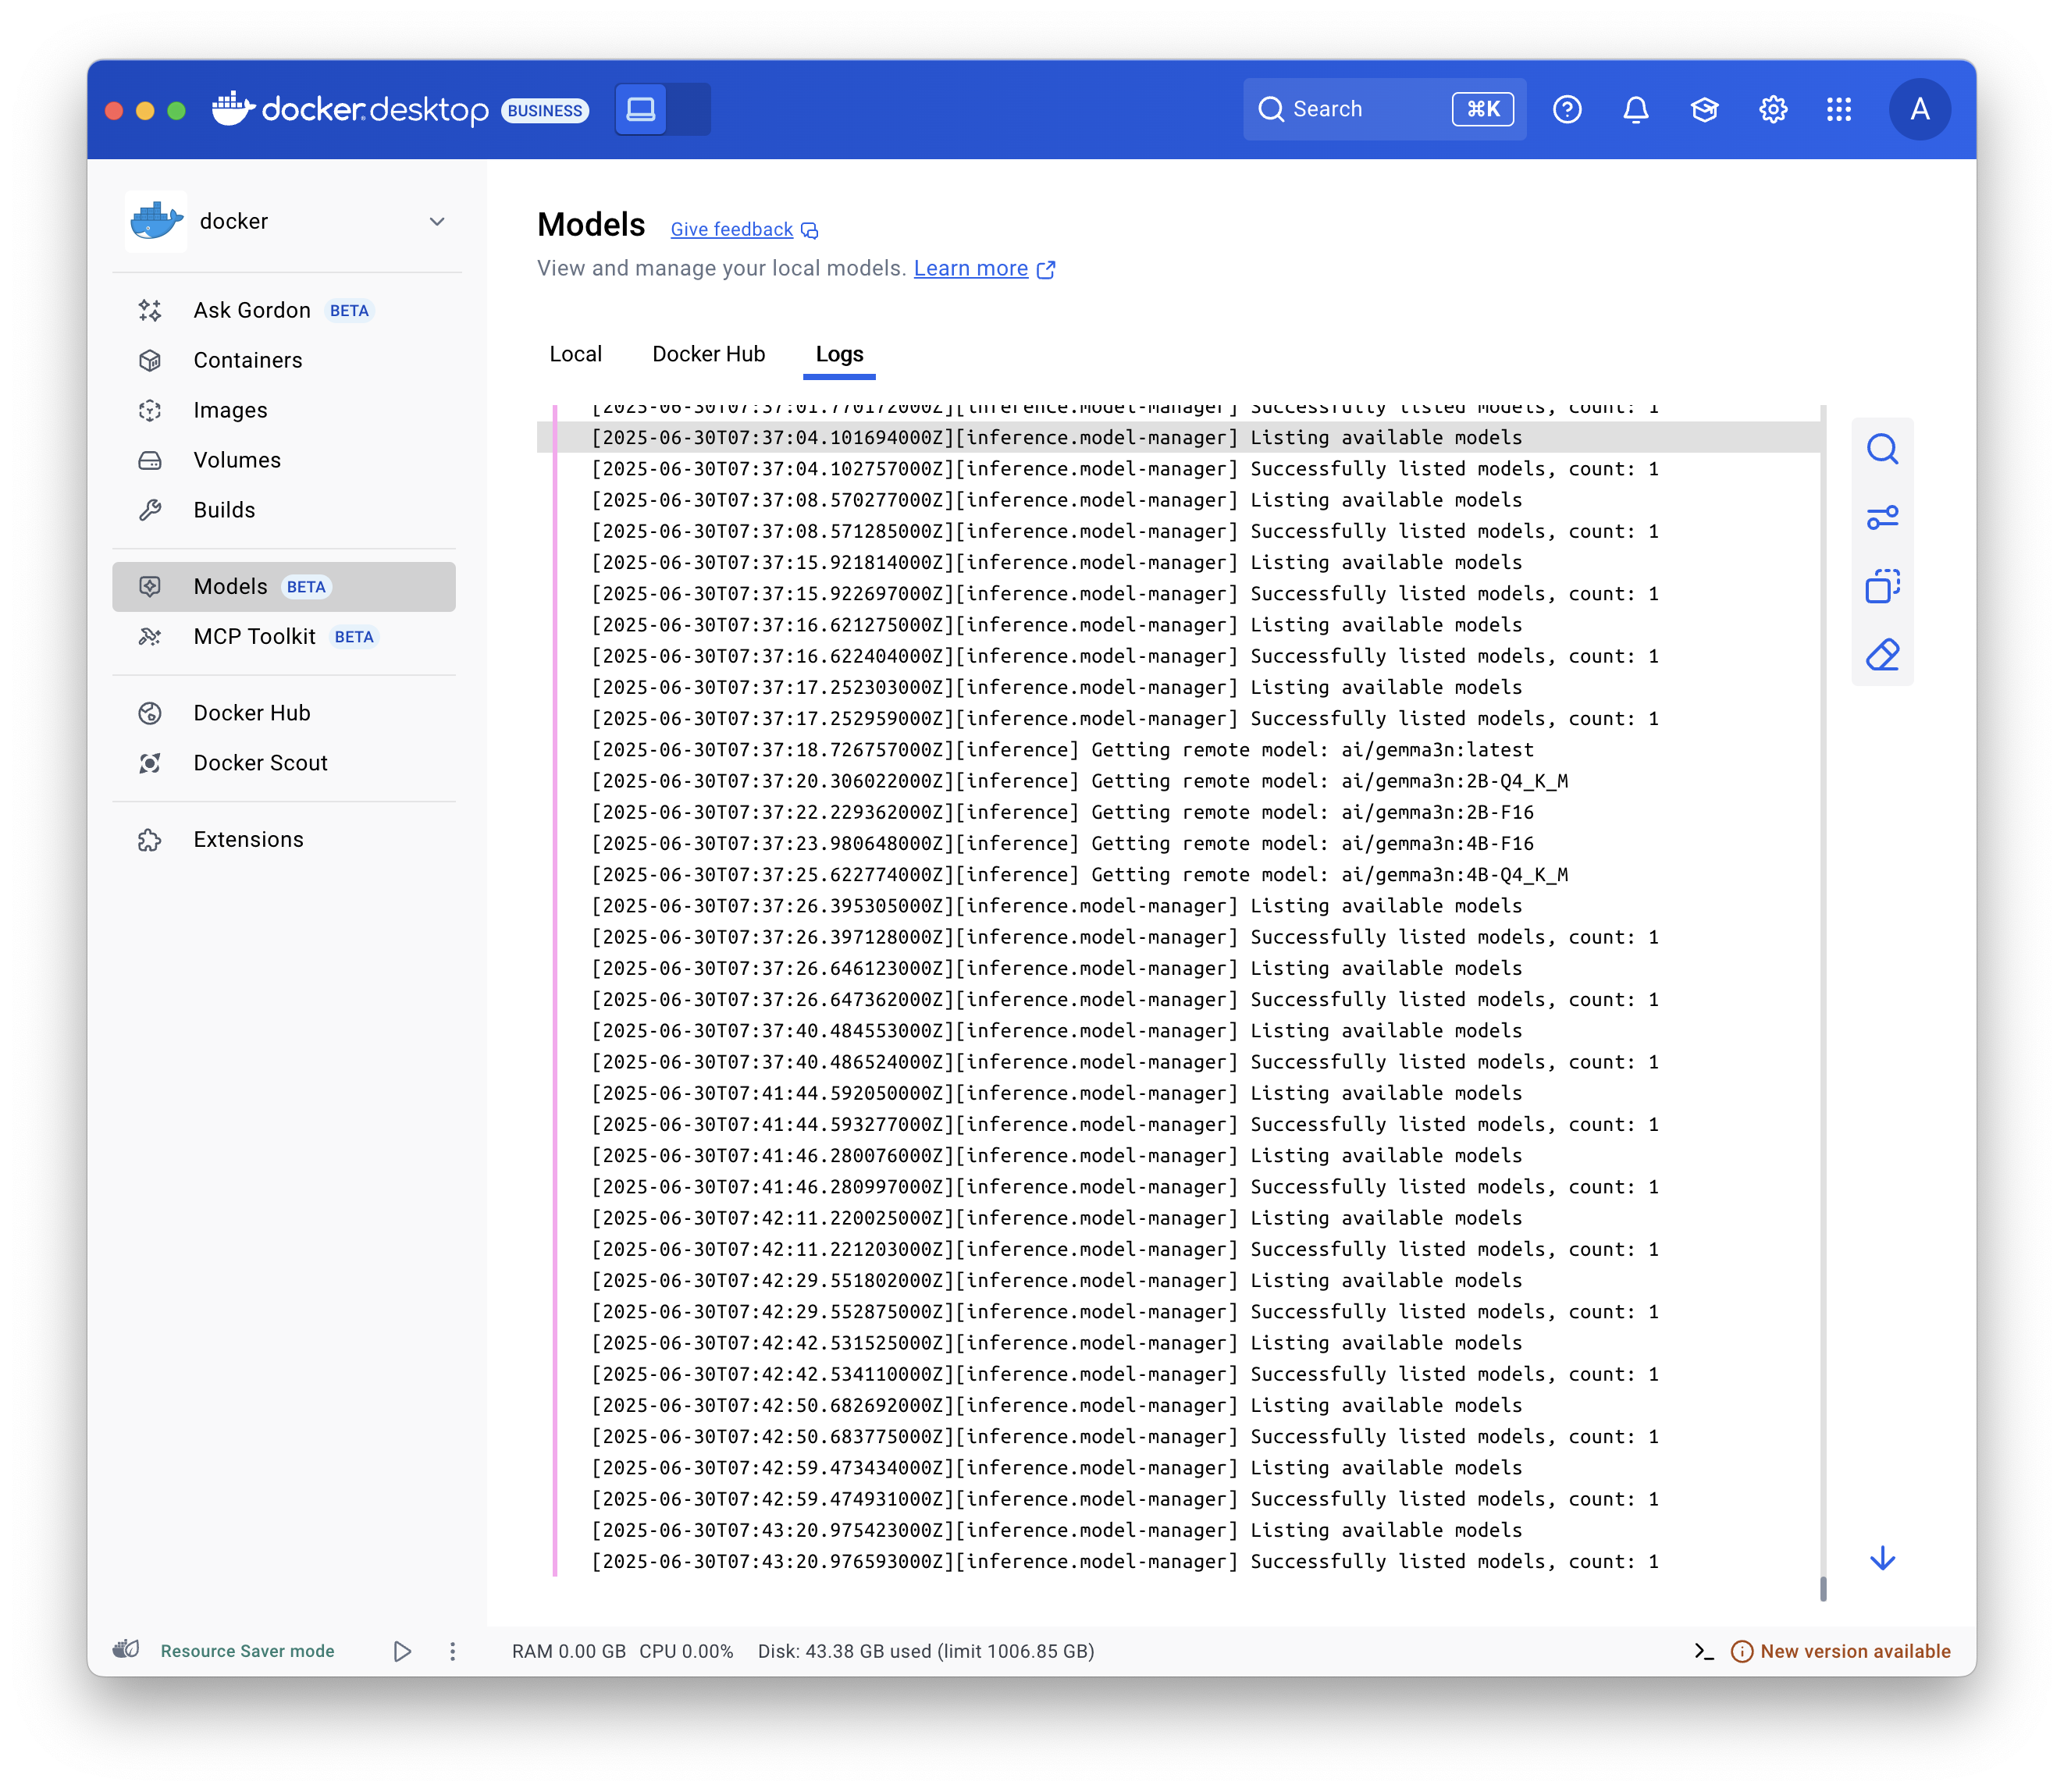
Display the logs
To troubleshoot issues, display the logs:
Select Models and select the Logs tab.
Use the
docker model logs command.
Inspect requests and responses
Inspecting requests and responses helps you diagnose model-related issues. For example, you can evaluate context usage to verify you stay within the model's context window or display the full body of a request to control the parameters you are passing to your models when developing with a framework.
In Docker Desktop, to inspect the requests and responses for each model:
- Select Models and select the Requests tab. This view displays all the requests to all models:
- The time the request was sent.
- The model name and version
- The prompt/request
- The context usage
- The time it took for the response to be generated.
- Select one of the requests to display further details:
- In the Overview tab, view the token usage, response metadata and generation speed, and the actual prompt and response.
- In the Request and Response tabs, view the full JSON payload of the request and the response.
NoteYou can also display the requests for a specific model when you select a model and then select the Requests tab.
Related pages
- API reference - OpenAI and Ollama-compatible API documentation
- Configuration options - Context size and runtime parameters
- Inference engines - llama.cpp and vLLM details
- IDE integrations - Connect Cline, Continue, Cursor, and more
- Open WebUI integration - Set up a web chat interface
- Models and Compose - Use models in Compose applications
- Docker Model Runner CLI reference - Complete CLI documentation