Docker build cache
When you build the same Docker image multiple times, knowing how to optimize the build cache is a great tool for making sure the builds run fast.
How the build cache works
Understanding Docker's build cache helps you write better Dockerfiles that result in faster builds.
The following example shows a small Dockerfile for a program written in C.
# syntax=docker/dockerfile:1
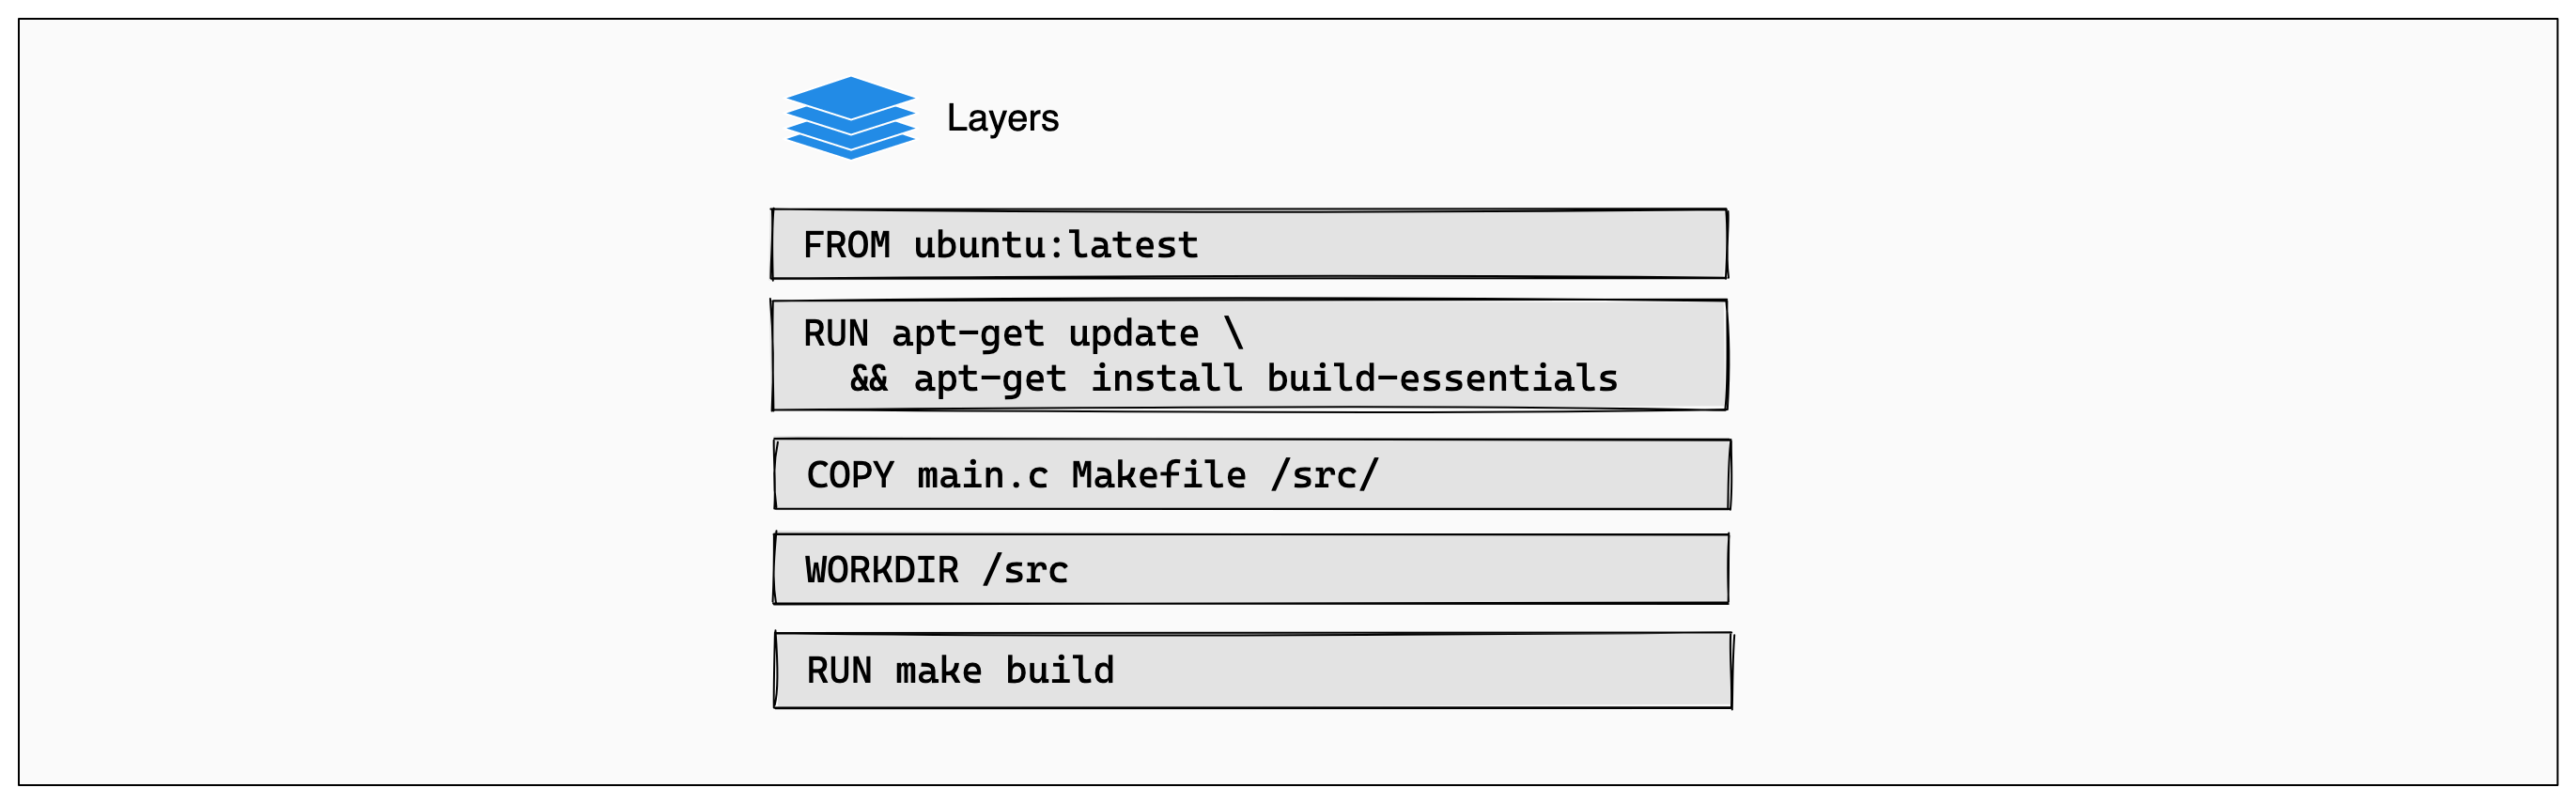
FROM ubuntu:latest
RUN apt-get update && apt-get install -y build-essentials
COPY main.c Makefile /src/
WORKDIR /src/
RUN make buildEach instruction in this Dockerfile translates to a layer in your final image. You can think of image layers as a stack, with each layer adding more content on top of the layers that came before it:
Whenever a layer changes, that layer will need to be re-built. For example,
suppose you make a change to your program in the main.c file. After this
change, the COPY command will have to run again in order for those changes to
appear in the image. In other words, Docker will invalidate the cache for this
layer.
If a layer changes, all other layers that come after it are also affected. When
the layer with the COPY command gets invalidated, all layers that follow will
need to run again, too:

And that's the Docker build cache in a nutshell. Once a layer changes, then all downstream layers need to be rebuilt as well. Even if they wouldn't build anything differently, they still need to re-run.
Other resources
For more information on using cache to do efficient builds, see: