Docker Compose Quickstart
This tutorial aims to introduce fundamental concepts of Docker Compose by guiding you through the development of a basic Python web application.
Using the Flask framework, the application features a hit counter in Redis, providing a practical example of how Docker Compose can be applied in web development scenarios.
The concepts demonstrated here should be understandable even if you're not familiar with Python.
This is a non-normative example that demonstrates core Compose functionality.
Prerequisites
Make sure you have:
- Installed the latest version of Docker Compose
- A basic understanding of Docker concepts and how Docker works
Step 1: Set up
Create a directory for the project:
$ mkdir composetest
$ cd composetest
Create a file called
app.pyin your project directory and paste the following code in:import time import redis from flask import Flask app = Flask(__name__) cache = redis.Redis(host='redis', port=6379) def get_hit_count(): retries = 5 while True: try: return cache.incr('hits') except redis.exceptions.ConnectionError as exc: if retries == 0: raise exc retries -= 1 time.sleep(0.5) @app.route('/') def hello(): count = get_hit_count() return f'Hello World! I have been seen {count} times.\n'In this example,
redisis the hostname of the redis container on the application's network and the default port,6379is used.NoteNote the way the
get_hit_countfunction is written. This basic retry loop attempts the request multiple times if the Redis service is not available. This is useful at startup while the application comes online, but also makes the application more resilient if the Redis service needs to be restarted anytime during the app's lifetime. In a cluster, this also helps handling momentary connection drops between nodes.Create another file called
requirements.txtin your project directory and paste the following code in:flask redisCreate a
Dockerfileand paste the following code in:# syntax=docker/dockerfile:1 FROM python:3.10-alpine WORKDIR /code ENV FLASK_APP=app.py ENV FLASK_RUN_HOST=0.0.0.0 RUN apk add --no-cache gcc musl-dev linux-headers COPY requirements.txt requirements.txt RUN pip install -r requirements.txt EXPOSE 5000 COPY . . CMD ["flask", "run", "--debug"]This tells Docker to:
- Build an image starting with the Python 3.10 image.
- Set the working directory to
/code. - Set environment variables used by the
flaskcommand. - Install gcc and other dependencies
- Copy
requirements.txtand install the Python dependencies. - Add metadata to the image to describe that the container is listening on port 5000
- Copy the current directory
.in the project to the workdir.in the image. - Set the default command for the container to
flask run --debug.
ImportantCheck that the
Dockerfilehas no file extension like.txt. Some editors may append this file extension automatically which results in an error when you run the application.For more information on how to write Dockerfiles, see the Dockerfile reference.
Step 2: Define services in a Compose file
Compose simplifies the control of your entire application stack, making it easy to manage services, networks, and volumes in a single, comprehensible YAML configuration file.
Create a file called compose.yaml in your project directory and paste
the following:
services:
  web:
    build: .
    ports:
      - "8000:5000"
  redis:
    image: "redis:alpine"
This Compose file defines two services: web and redis.
The web service uses an image that's built from the Dockerfile in the current directory.
It then binds the container and the host machine to the exposed port, 8000. This example service uses the default port for the Flask web server, 5000.
The redis service uses a public Redis
image pulled from the Docker Hub registry.
For more information on the compose.yaml file, see How Compose works.
Step 3: Build and run your app with Compose
With a single command, you create and start all the services from your configuration file.
From your project directory, start up your application by running
docker compose up.$ docker compose up Creating network "composetest_default" with the default driver Creating composetest_web_1 ... Creating composetest_redis_1 ... Creating composetest_web_1 Creating composetest_redis_1 ... done Attaching to composetest_web_1, composetest_redis_1 web_1 | * Running on http://0.0.0.0:5000/ (Press CTRL+C to quit) redis_1 | 1:C 17 Aug 22:11:10.480 # oO0OoO0OoO0Oo Redis is starting oO0OoO0OoO0Oo redis_1 | 1:C 17 Aug 22:11:10.480 # Redis version=4.0.1, bits=64, commit=00000000, modified=0, pid=1, just started redis_1 | 1:C 17 Aug 22:11:10.480 # Warning: no config file specified, using the default config. In order to specify a config file use redis-server /path/to/redis.conf web_1 | * Restarting with stat redis_1 | 1:M 17 Aug 22:11:10.483 * Running mode=standalone, port=6379. redis_1 | 1:M 17 Aug 22:11:10.483 # WARNING: The TCP backlog setting of 511 cannot be enforced because /proc/sys/net/core/somaxconn is set to the lower value of 128. web_1 | * Debugger is active! redis_1 | 1:M 17 Aug 22:11:10.483 # Server initialized redis_1 | 1:M 17 Aug 22:11:10.483 # WARNING you have Transparent Huge Pages (THP) support enabled in your kernel. This will create latency and memory usage issues with Redis. To fix this issue run the command 'echo never > /sys/kernel/mm/transparent_hugepage/enabled' as root, and add it to your /etc/rc.local in order to retain the setting after a reboot. Redis must be restarted after THP is disabled. web_1 | * Debugger PIN: 330-787-903 redis_1 | 1:M 17 Aug 22:11:10.483 * Ready to accept connectionsCompose pulls a Redis image, builds an image for your code, and starts the services you defined. In this case, the code is statically copied into the image at build time.
Enter
http://localhost:8000/in a browser to see the application running.If this doesn't resolve, you can also try
http://127.0.0.1:8000.You should see a message in your browser saying:
Hello World! I have been seen 1 times.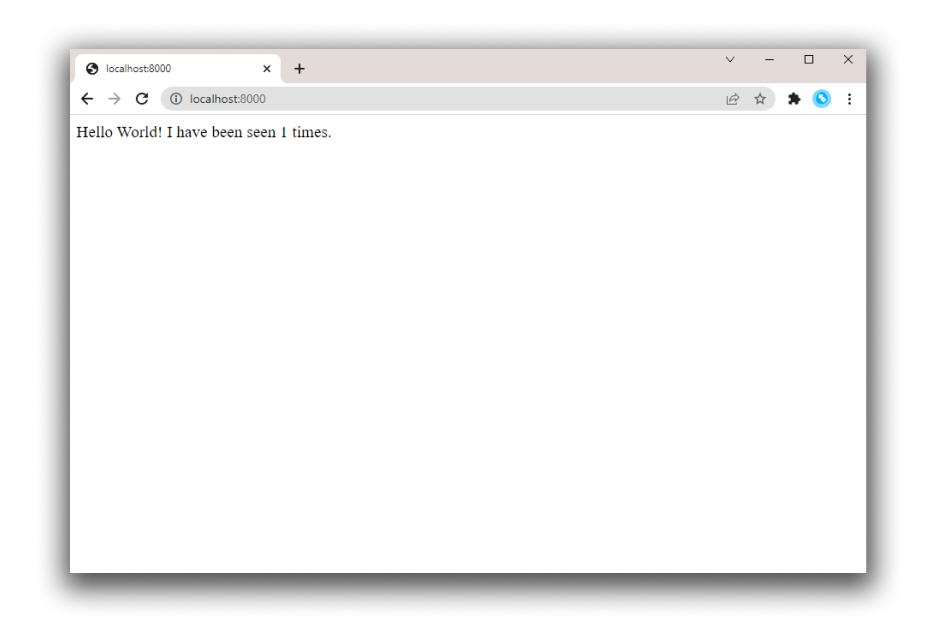
Refresh the page.
The number should increment.
Hello World! I have been seen 2 times.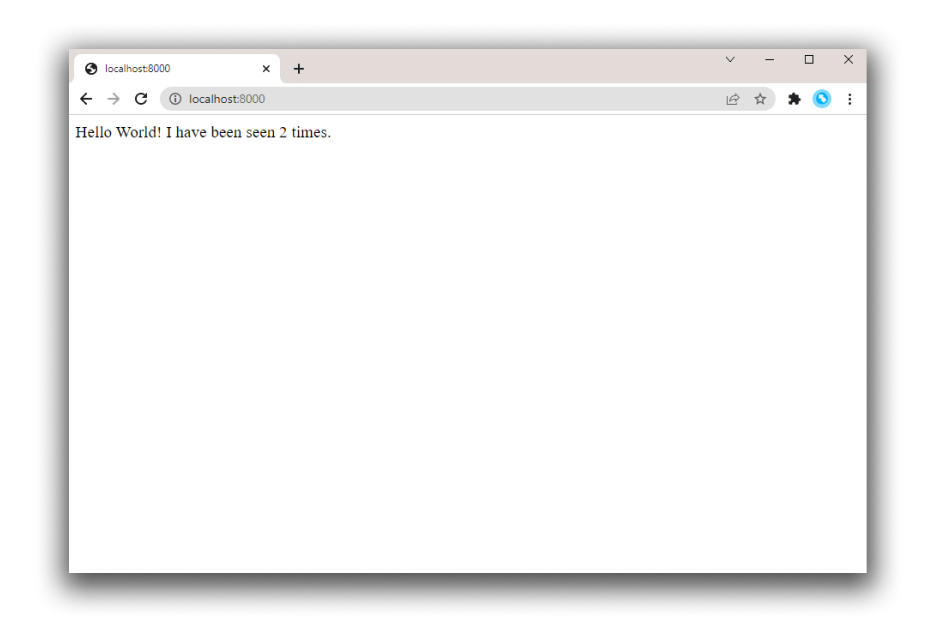
Switch to another terminal window, and type
docker image lsto list local images.Listing images at this point should return
redisandweb.$ docker image ls REPOSITORY TAG IMAGE ID CREATED SIZE composetest_web latest e2c21aa48cc1 4 minutes ago 93.8MB python 3.4-alpine 84e6077c7ab6 7 days ago 82.5MB redis alpine 9d8fa9aa0e5b 3 weeks ago 27.5MBYou can inspect images with
docker inspect <tag or id>.Stop the application, either by running
docker compose downfrom within your project directory in the second terminal, or by hittingCTRL+Cin the original terminal where you started the app.
Step 4: Edit the Compose file to use Compose Watch
Edit the compose.yaml file in your project directory to use watch so you can preview your running Compose services which are automatically updated as you edit and save your code:
services:
  web:
    build: .
    ports:
      - "8000:5000"
    develop:
      watch:
        - action: sync
          path: .
          target: /code
  redis:
    image: "redis:alpine"
Whenever a file is changed, Compose syncs the file to the corresponding location under /code inside the container. Once copied, the bundler updates the running application without a restart.
For more information on how Compose Watch works, see Use Compose Watch. Alternatively, see Manage data in containers for other options.
NoteFor this example to work, the
--debugoption is added to theDockerfile. The--debugoption in Flask enables automatic code reload, making it possible to work on the backend API without the need to restart or rebuild the container. After changing the.pyfile, subsequent API calls will use the new code, but the browser UI will not automatically refresh in this small example. Most frontend development servers include native live reload support that works with Compose.
Step 5: Re-build and run the app with Compose
From your project directory, type docker compose watch or docker compose up --watch to build and launch the app and start the file watch mode.
$ docker compose watch
[+] Running 2/2
 ✔ Container docs-redis-1 Created                                                                                                                                                                                                        0.0s
 ✔ Container docs-web-1    Recreated                                                                                                                                                                                                      0.1s
Attaching to redis-1, web-1
         ⦿ watch enabled
...
Check the Hello World message in a web browser again, and refresh to see the
count increment.
Step 6: Update the application
To see Compose Watch in action:
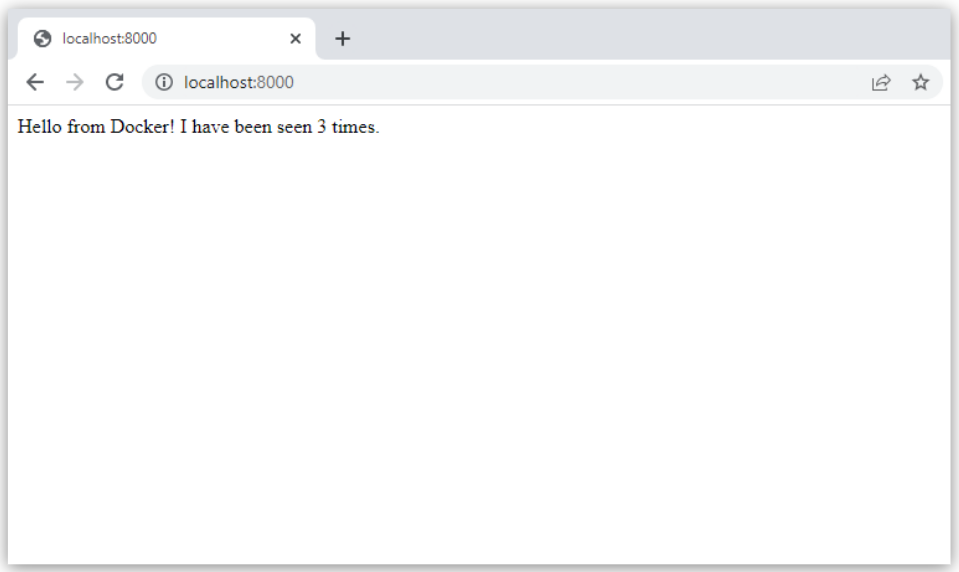
Change the greeting in
app.pyand save it. For example, change theHello World!message toHello from Docker!:return f'Hello from Docker! I have been seen {count} times.\n'Refresh the app in your browser. The greeting should be updated, and the counter should still be incrementing.
Once you're done, run
docker compose down.
Step 7: Split up your services
Using multiple Compose files lets you customize a Compose application for different environments or workflows. This is useful for large applications that may use dozens of containers, with ownership distributed across multiple teams.
In your project folder, create a new Compose file called
infra.yaml.Cut the Redis service from your
compose.yamlfile and paste it into your newinfra.yamlfile. Make sure you add theservicestop-level attribute at the top of your file. Yourinfra.yamlfile should now look like this:services: redis: image: "redis:alpine"In your
compose.yamlfile, add theincludetop-level attribute along with the path to theinfra.yamlfile.include: - infra.yaml services: web: build: . ports: - "8000:5000" develop: watch: - action: sync path: . target: /codeRun
docker compose upto build the app with the updated Compose files, and run it. You should see theHello worldmessage in your browser.
This is a simplified example, but it demonstrates the basic principle of include and how it can make it easier to modularize complex applications into sub-Compose files. For more information on include and working with multiple Compose files, see
Working with multiple Compose files.
Step 8: Experiment with some other commands
If you want to run your services in the background, you can pass the
-dflag (for "detached" mode) todocker compose upand usedocker compose psto see what is currently running:$ docker compose up -d Starting composetest_redis_1... Starting composetest_web_1... $ docker compose ps Name Command State Ports ------------------------------------------------------------------------------------- composetest_redis_1 docker-entrypoint.sh redis ... Up 6379/tcp composetest_web_1 flask run Up 0.0.0.0:8000->5000/tcpRun
docker compose --helpto see other available commands.If you started Compose with
docker compose up -d, stop your services once you've finished with them:$ docker compose stopYou can bring everything down, removing the containers entirely, with the
docker compose downcommand.