Share the application
Now that you've built an image, you can share it. To share Docker images, you have to use a Docker registry. The default registry is Docker Hub and is where all of the images you've used have come from.
Docker ID
A Docker ID lets you access Docker Hub, which is the world's largest library and community for container images. Create a Docker ID for free if you don't have one.
Create a repository
To push an image, you first need to create a repository on Docker Hub.
Sign up or Sign in to Docker Hub.
Select the Create Repository button.
For the repository name, use
getting-started. Make sure the Visibility is Public.Select Create.
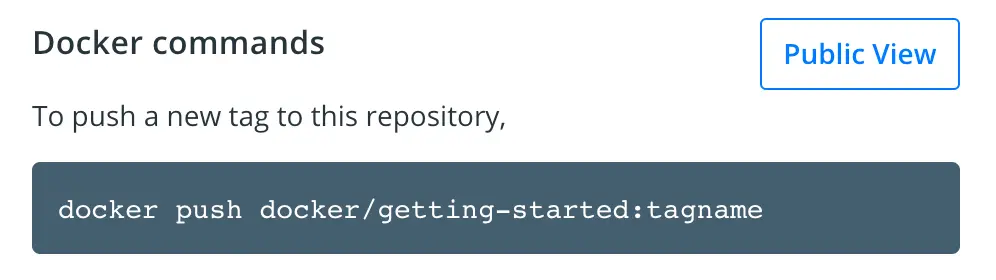
In the following image, you can see an example Docker command from Docker Hub. This command will push to this repository.
Push the image
Let's try to push the image to Docker Hub.
In the command line, run the following command:
docker push docker/getting-startedYou'll see an error like this:
$ docker push docker/getting-started
The push refers to repository [docker.io/docker/getting-started]
An image does not exist locally with the tag: docker/getting-started
This failure is expected because the image isn't tagged correctly yet. Docker is looking for an image name
docker/getting-started, but your local image is still namedgetting-started.You can confirm this by running:
docker image lsTo fix this, first sign in to Docker Hub using your Docker ID:
docker login -u YOUR-USER-NAME.Use the
docker tagcommand to give thegetting-startedimage a new name. ReplaceYOUR-USER-NAMEwith your Docker ID.$ docker tag getting-started YOUR-USER-NAME/getting-startedNow run the
docker pushcommand again. If you're copying the value from Docker Hub, you can drop thetagnamepart, as you didn't add a tag to the image name. If you don't specify a tag, Docker uses a tag calledlatest.$ docker push YOUR-USER-NAME/getting-started
Run the image on a new instance
Now that your image has been built and pushed into a registry, you can run your app on any machine that has Docker installed. Try pulling and running your image on another computer or a cloud instance.
Summary
In this section, you learned how to share your images by pushing them to a registry. You then went to a brand new instance and were able to run the freshly pushed image. This is quite common in CI pipelines, where the pipeline will create the image and push it to a registry and then the production environment can use the latest version of the image.
Related information:
Next steps
In the next section, you'll learn how to persist data in your containerized application.
Persist the DB