Develop with containers
Explanation
Now that you have Docker Desktop installed, you are ready to do some application development. Specifically, you will do the following:
- Clone and start a development project
- Make changes to the backend and frontend
- See the changes immediately
Try it out
In this hands-on guide, you'll learn how to develop with containers.
Start the project
To get started, either clone or download the project as a ZIP file to your local machine.
$ git clone https://github.com/docker/getting-started-todo-appAnd after the project is cloned, navigate into the new directory created by the clone:
$ cd getting-started-todo-appOnce you have the project, start the development environment using Docker Compose.
To start the project using the CLI, run the following command:
$ docker compose watchYou will see an output that shows container images being pulled down, containers starting, and more. Don't worry if you don't understand it all at this point. But, within a moment or two, things should stabilize and finish.
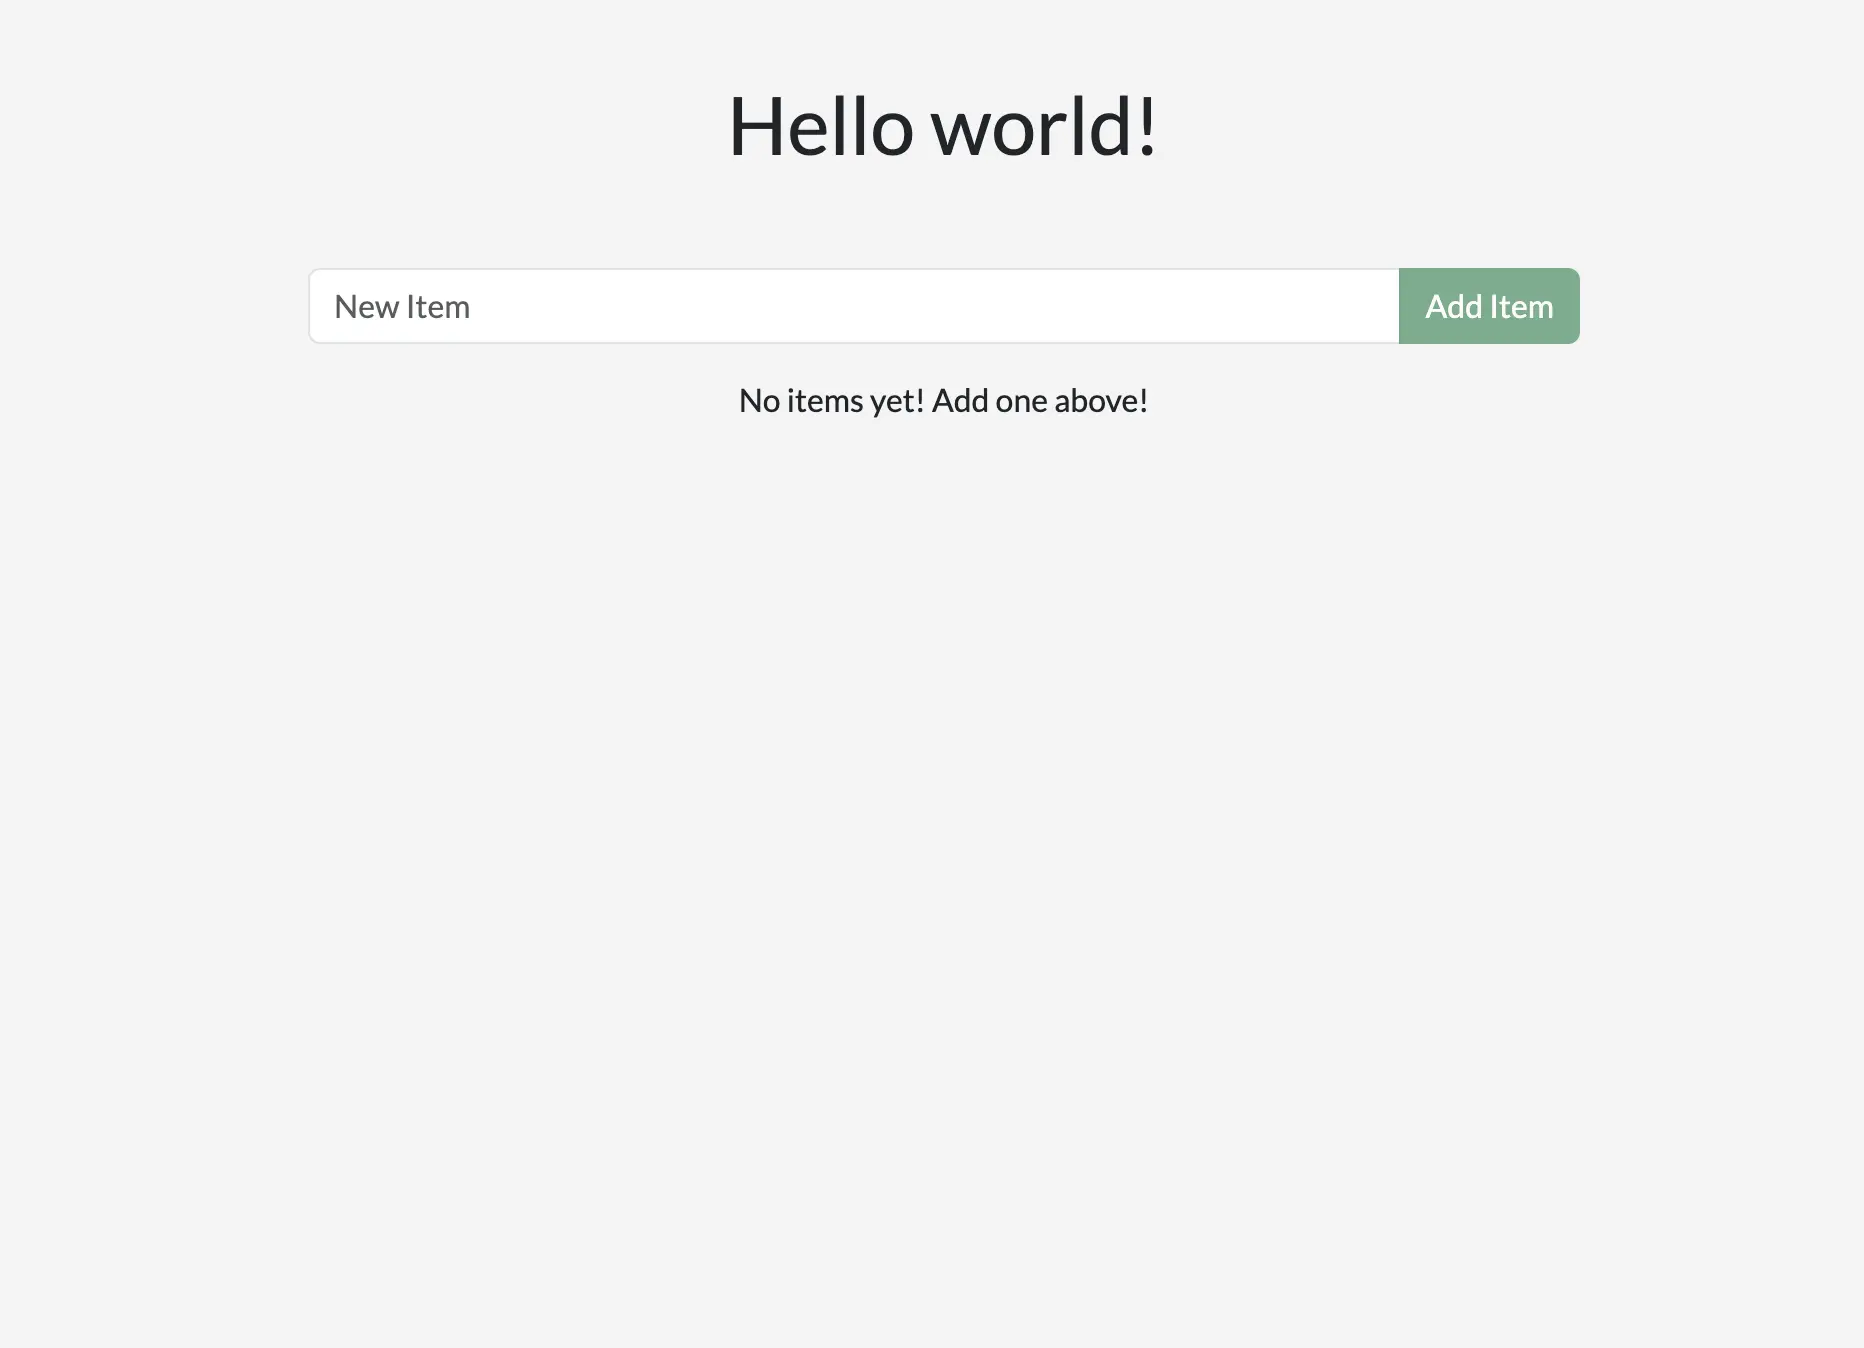
Open your browser to http://localhost to see the application up and running. It may take a few minutes for the app to run. The app is a simple to-do application, so feel free to add an item or two, mark some as done, or even delete an item.
What's in the environment?
Now that the environment is up and running, what's actually in it? At a high-level, there are several containers (or processes) that each serve a specific need for the application:
- React frontend - a Node container that's running the React dev server, using Vite.
- Node backend - the backend provides an API that provides the ability to retrieve, create, and delete to-do items.
- MySQL database - a database to store the list of the items.
- phpMyAdmin - a web-based interface to interact with the database that is accessible at http://db.localhost.
- Traefik proxy - Traefik is an application proxy that routes requests to the right service. It sends all requests for
localhost/api/*to the backend, requests forlocalhost/*to the frontend, and then requests fordb.localhostto phpMyAdmin. This provides the ability to access all applications using port 80 (instead of different ports for each service).
With this environment, you as the developer don’t need to install or configure any services, populate a database schema, configure database credentials, or anything. You only need Docker Desktop. The rest just works.
Make changes to the app
With this environment up and running, you’re ready to make a few changes to the application and see how Docker helps provide a fast feedback loop.
Change the greeting
The greeting at the top of the page is populated by an API call at /api/greeting. Currently, it always returns "Hello world!". You’ll now modify it to return one of three randomized messages (that you'll get to choose).
Open the
backend/src/routes/getGreeting.jsfile in a text editor on your local machine (in the cloned project directory). This file provides the handler for the API endpoint. Your changes will automatically sync to the running container.Modify the variable at the top to an array of greetings. Feel free to use the following modifications or customize it to your own liking. Also, update the endpoint to send a random greeting from this list.
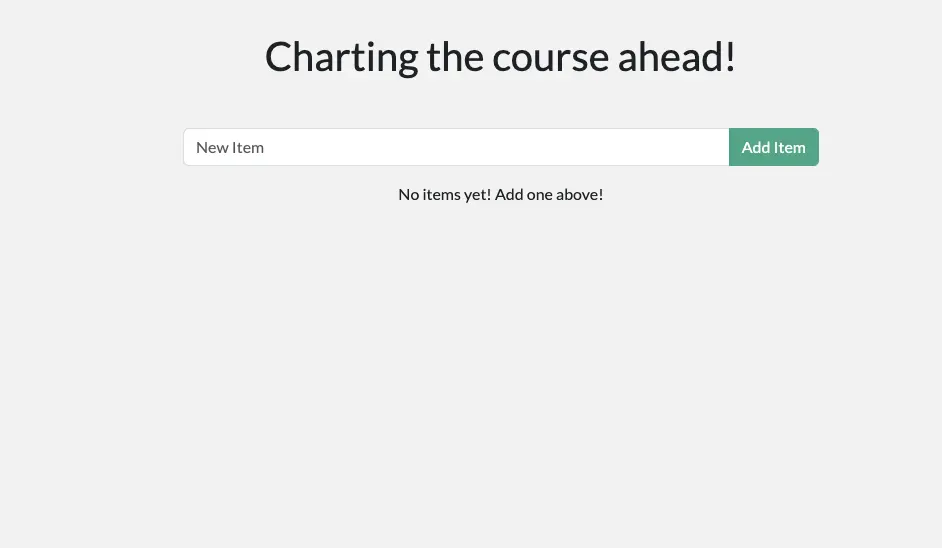
 1
 2
 3
 4
 5
 6
 7
 8
 9
10
11
const GREETINGS = [ "Whalecome!", "All hands on deck!", "Charting the course ahead!", ]; module.exports = async (req, res) => { res.send({ greeting: GREETINGS[Math.floor(Math.random() * GREETINGS.length)], }); };If you haven't done so yet, save the file. If you refresh your browser, you should see a new greeting. If you keep refreshing, you should see all of the messages appear.
Change the placeholder text
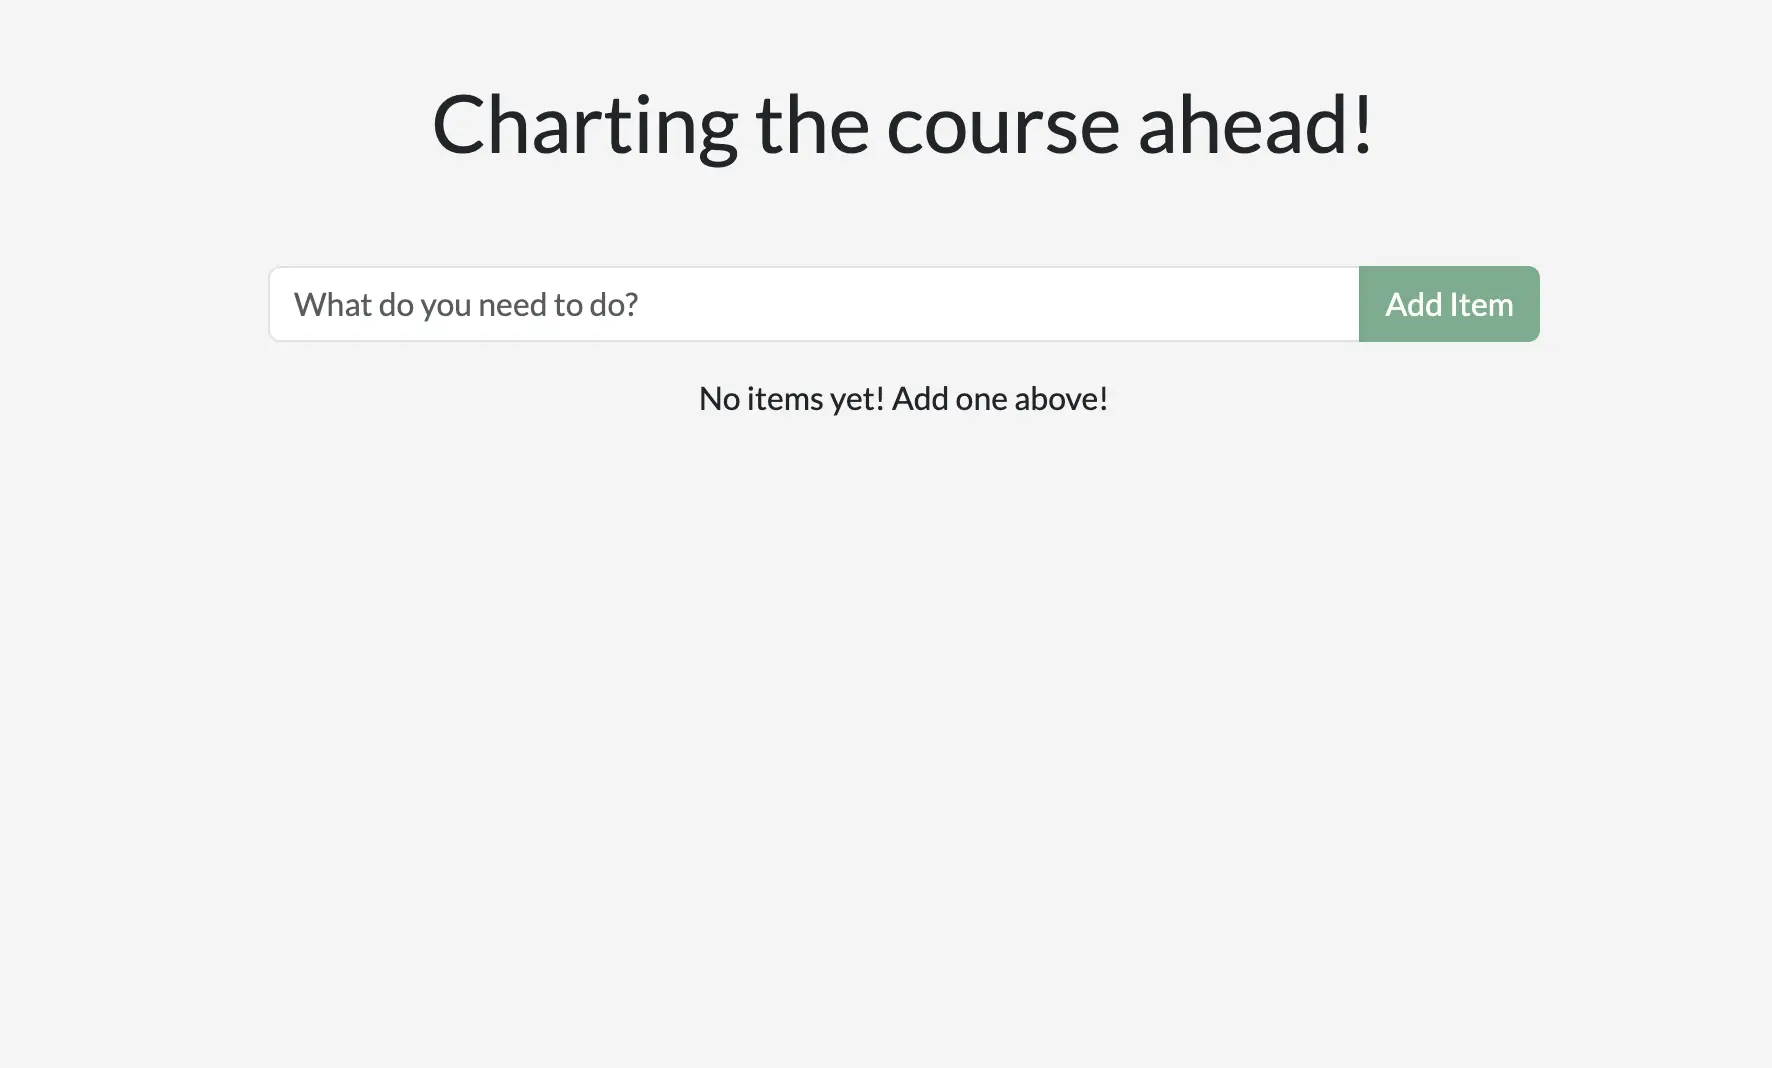
When you look at the app, you'll see the placeholder text is simply "New Item". You’ll now make that a little more descriptive and fun. You’ll also make a few changes to the styling of the app too.
Open the
client/src/components/AddNewItemForm.jsxfile in your local project directory. This provides the component to add a new item to the to-do list.Modify the
placeholderattribute of theForm.Controlelement to whatever you'd like to display.33 34 35 36 37 38 39<Form.Control value={newItem} onChange={(e) => setNewItem(e.target.value)} type="text" placeholder="What do you need to do?" aria-label="New item" />Save the file and go back to your browser. You should see the change already hot-reloaded into your browser. If you don't like it, feel free to tweak it until it looks just right.
Change the background color
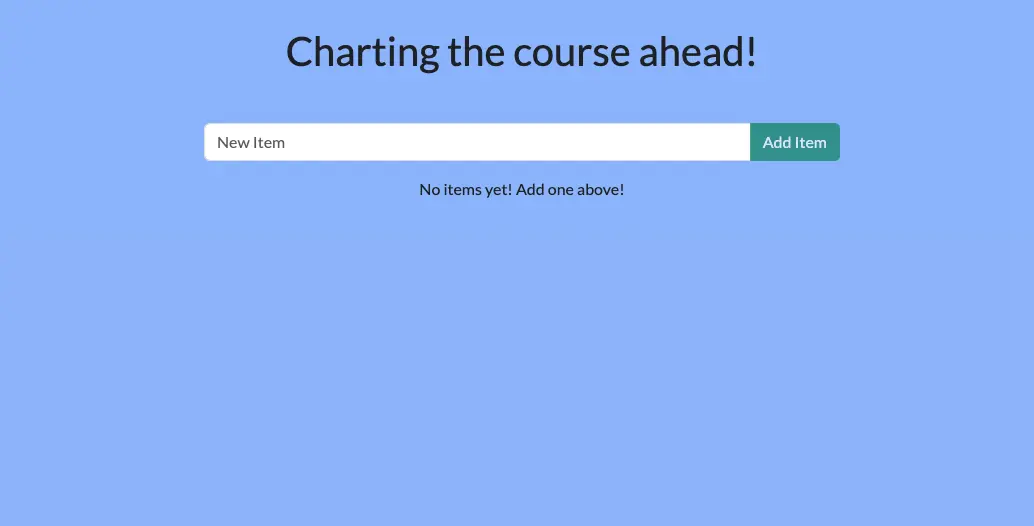
Before you consider the application finalized, you need to make the colors better.
Open the
client/src/index.scssfile in your local project directory.Adjust the
background-colorattribute to any color you'd like. The provided snippet is a soft blue to go along with Docker's nautical theme.If you're using an IDE, you can pick a color using the integrated color pickers. Otherwise, feel free to use an online Color Picker.
3
4
5
6
7
body { background-color: #99bbff; margin-top: 50px; font-family: "Lato"; }Each save should let you see the change immediately in the browser. Keep adjusting it until it's the perfect setup for you.
And with that, you're done. Congrats on updating your website.
Recap
Before you move on, take a moment and reflect on what happened here. Within a few moments, you were able to:
Start a complete development project with zero installation effort. The containerized environment provided the development environment, ensuring you have everything you need. You didn't have to install Node, MySQL, or any of the other dependencies directly on your machine. All you needed was Docker Desktop and a code editor.
Make changes and see them immediately. This was made possible because
- the processes running in each container are watching and responding to file changes and 2) the files in your local project directory are shared with the containerized environment, so edits you make locally are automatically synced to the containers.
Docker Desktop enables all of this and so much more. Once you start thinking with containers, you can create almost any environment and easily share it with your team.
Next steps
Now that the application has been updated, you’re ready to learn about packaging it as a container image and pushing it to a registry, specifically Docker Hub.
Build and push your first image