Develop and test AWS Cloud applications using LocalStack and Docker
In modern application development, testing cloud applications locally before deploying them to a live environment helps you ship faster and with more confidence. This approach involves simulating services locally, identifying and fixing issues early, and iterating quickly without incurring costs or facing the complexities of a full cloud environment. Tools like LocalStack have become invaluable in this process, enabling you to emulate AWS services and containerize applications for consistent, isolated testing environments.
In this guide, you'll learn how to:
- Use Docker to launch up a LocalStack container
- Connect to LocalStack from a non-containerized application
- Connect to LocalStack from a containerized application
What is LocalStack?
LocalStack is a cloud service emulator that runs in a single container on your laptop. It provides a powerful, flexible, and cost-effective way to test and develop AWS-based applications locally.
Why use LocalStack?
Simulating AWS services locally allows you to test how your app interacts with services like S3, Lambda, and DynamoDB without needing to connect to the real AWS cloud. You can quickly iterate on your development, avoiding the cost and complexity of deploying to the cloud during this phase.
By mimicking the behavior of these services locally, LocalStack enables faster feedback loops. Your app can interact with external APIs, but everything runs locally, removing the need to deal with cloud provisioning or network latency.
This makes it easier to validate integrations and test cloud-based scenarios without needing to configure IAM roles or policies in a live environment. You can simulate complex cloud architectures locally and push your changes to AWS only when you’re ready.
Using LocalStack with Docker
The official Docker image for LocalStack provides a convenient way to run LocalStack on your development machine. It’s free to use and doesn’t require any API key to run. You can even use LocalStack Docker Extension to use LocalStack with a graphical user interface.
Prerequisites
The following prerequisites are required to follow along with this how-to guide:
- Docker Desktop
- Node.js
- Python and pip
- Basic knowledge of Docker
Launching LocalStack
Launch a quick demo of LocalStack by using the following steps:
Start by cloning a sample application. Open the terminal and run the following command:
$ git clone https://github.com/dockersamples/todo-list-localstack-docker
$ cd todo-list-localstack-docker
Bring up LocalStack
Run the following command to bring up LocalStack.
$ docker compose -f compose-native.yml up -dThis Compose file also includes specifications for a required Mongo database. You can verify the services are up and running by visiting the Docker Dashboard.
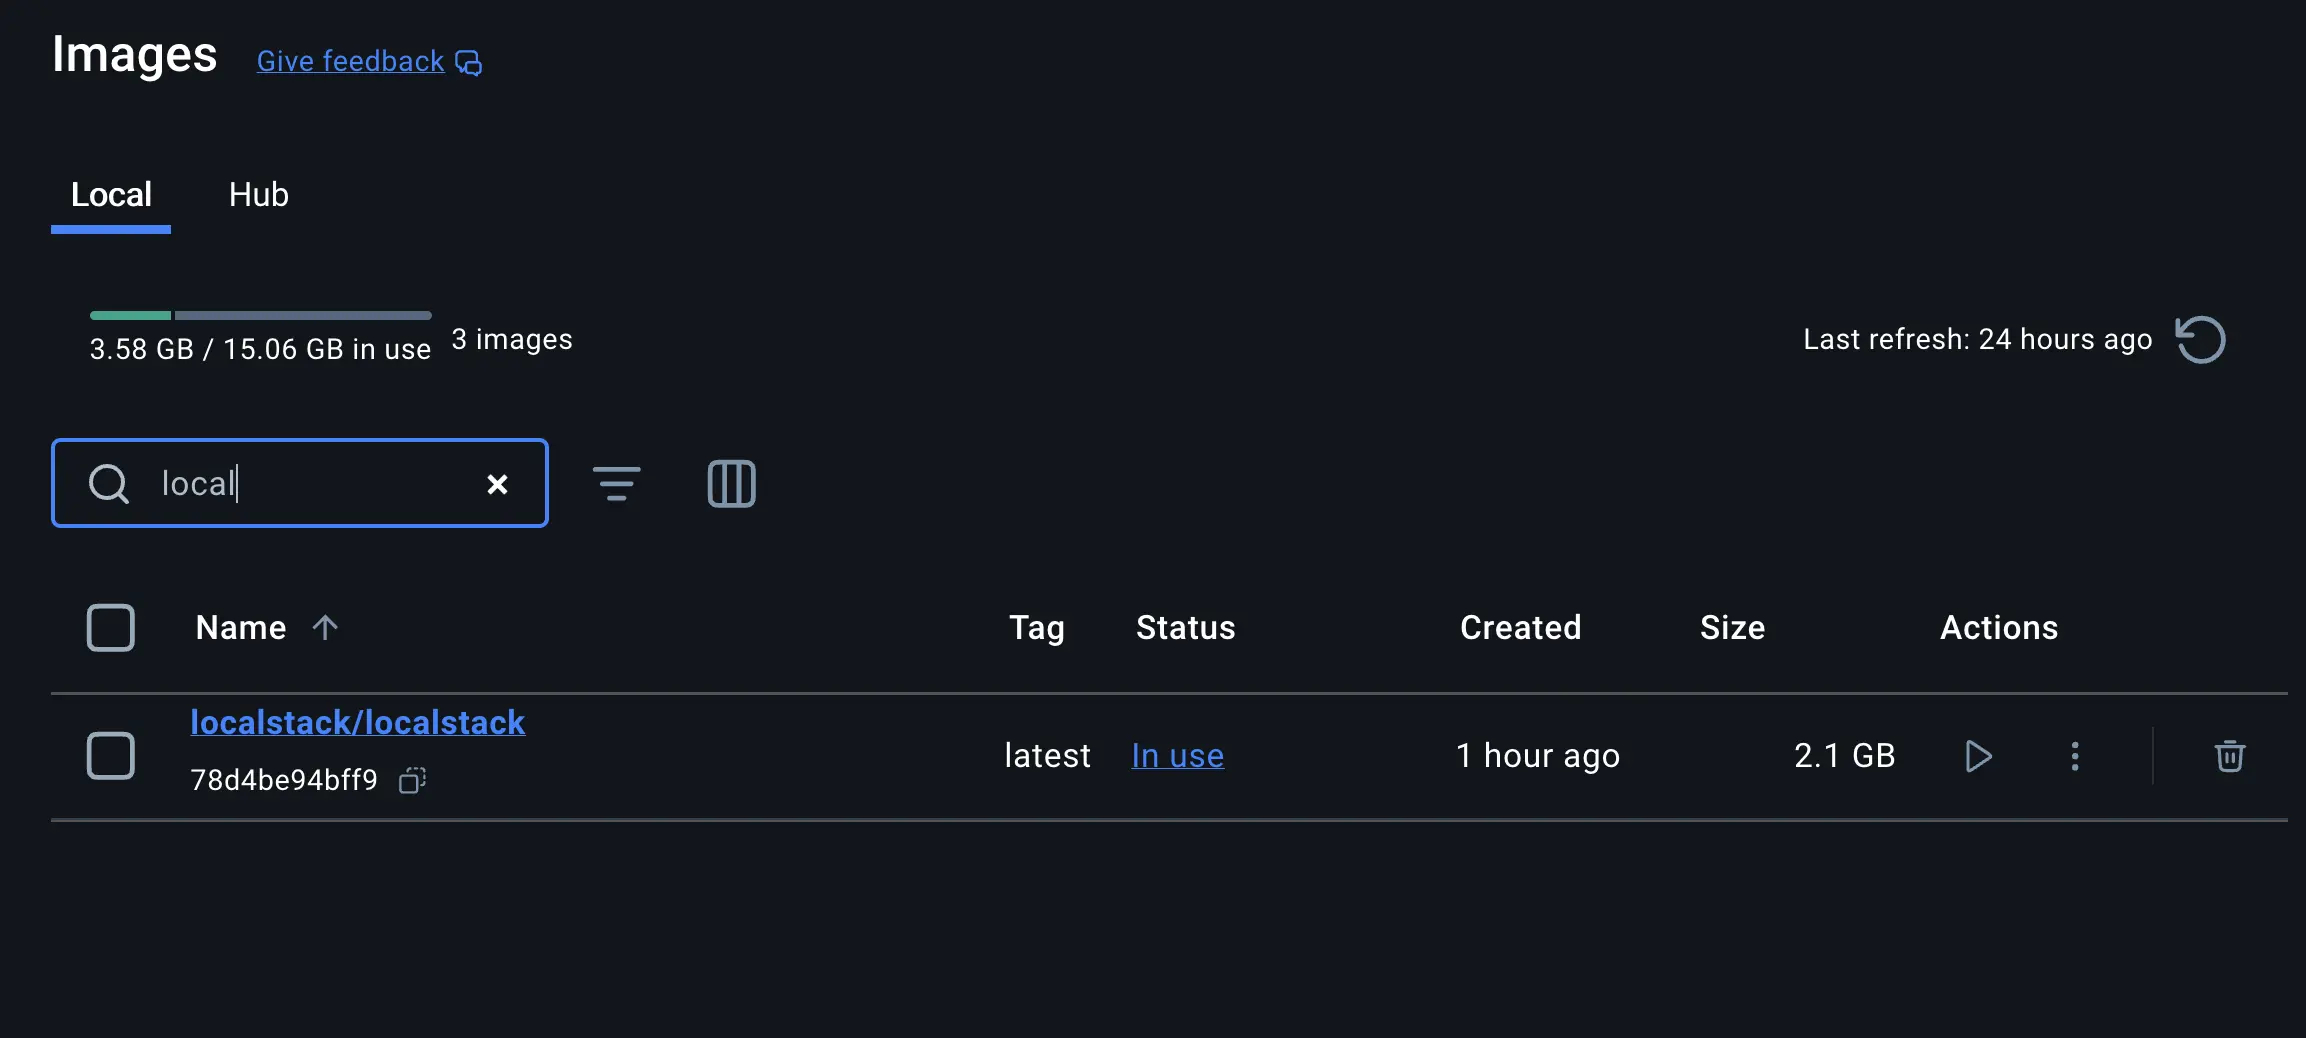
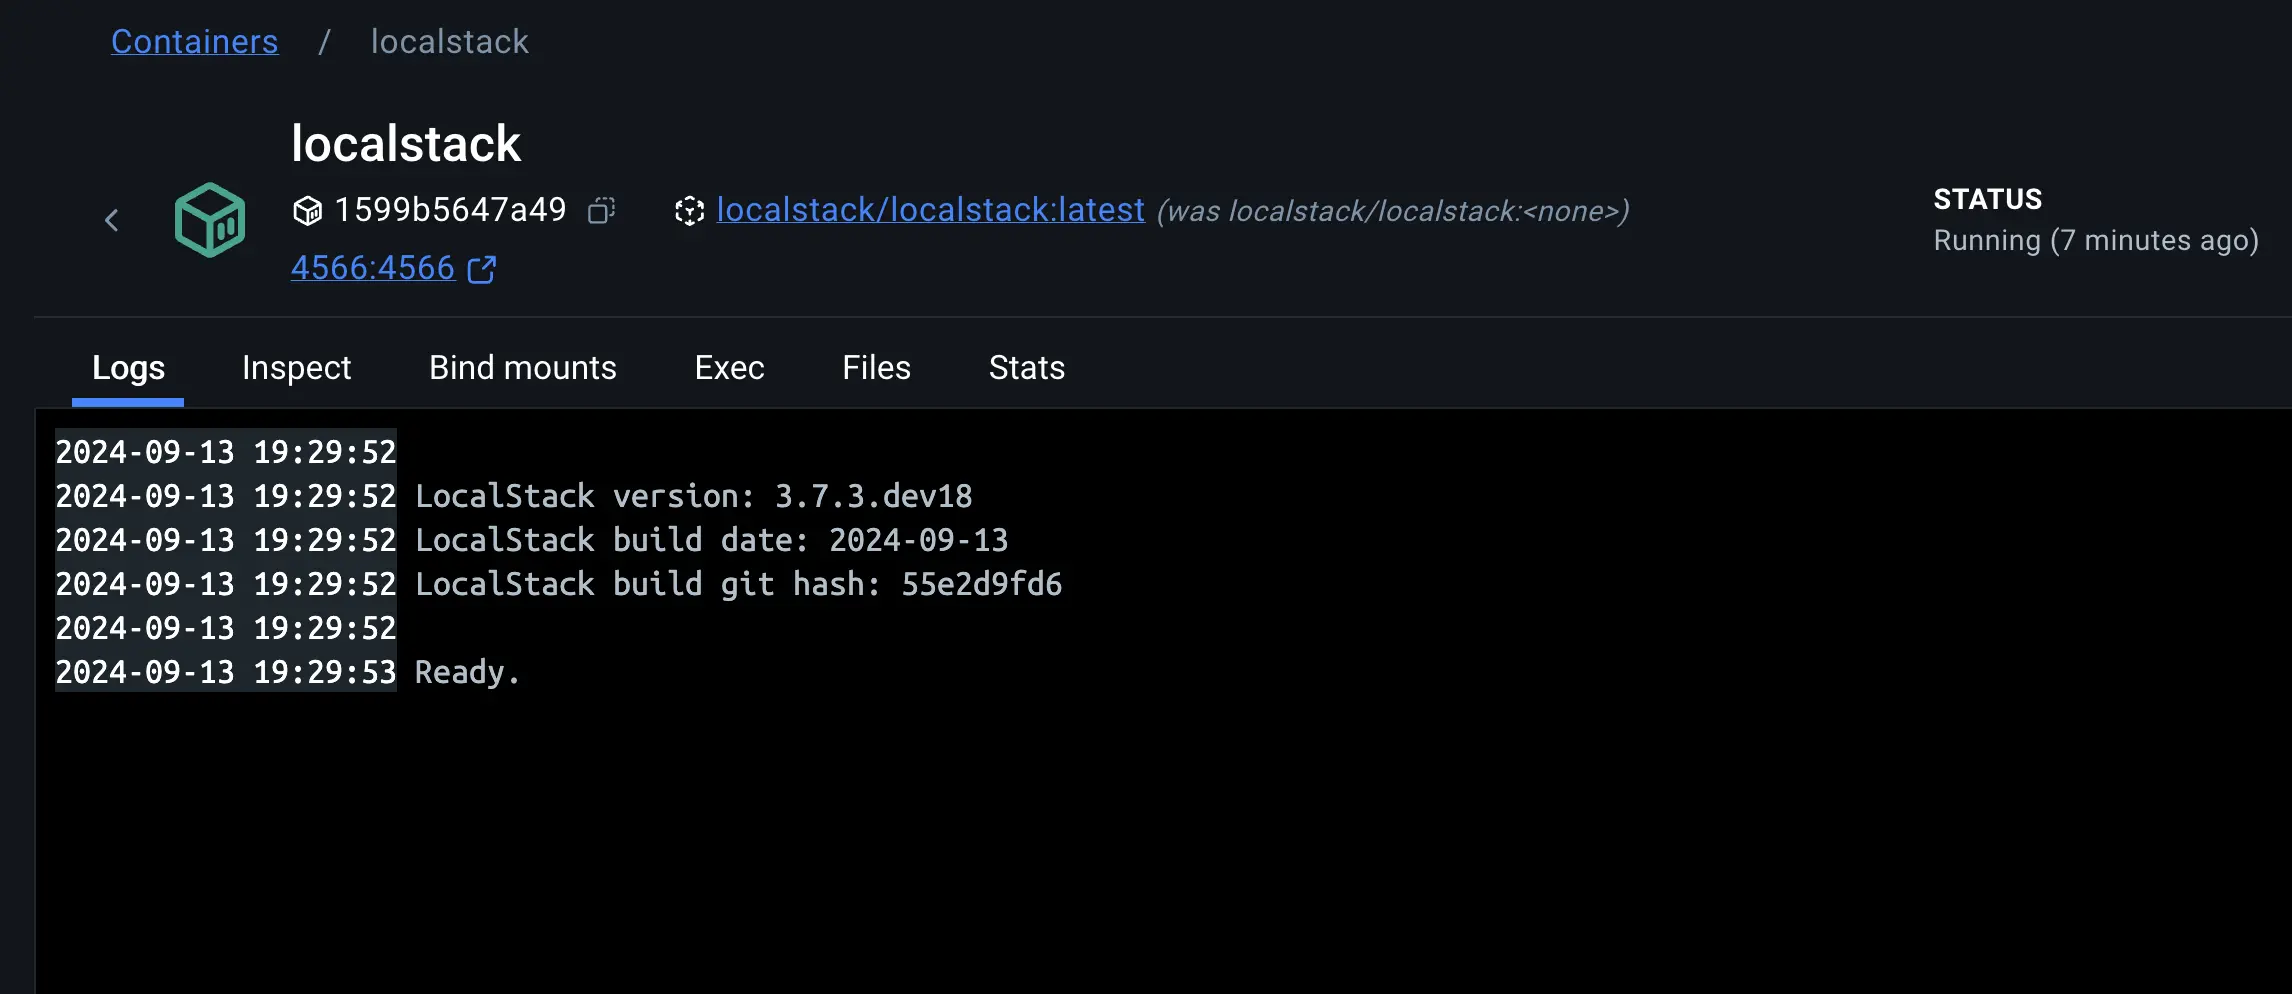
Verify that LocalStack is up and running by selecting the container and checking the logs.
Creating a Local Amazon S3 Bucket
When you create a local S3 bucket using LocalStack, you're essentially simulating the creation of an S3 bucket on AWS. This lets you to test and develop applications that interact with S3 without needing an actual AWS account.
To create Local Amazon S3 bucket, you’ll need to install an
awscli-localpackage to be installed on your system. This package provides the awslocal command, which is a thin wrapper around the AWS command line interface for use with LocalStack. It lets you to test and develop against a simulated environment on your local machine without needing to access the real AWS services. You can learn more about this utility here.$ pip install awscli-localCreate a new S3 bucket within the LocalStack environment with the following command:
$ awslocal s3 mb s3://mysamplebucketThe command
s3 mb s3://mysamplebuckettells the AWS CLI to create a new S3 bucket (mb stands formake bucket) namedmysamplebucket.You can verify if the S3 bucket gets created or not by selecting the LocalStack container on the Docker Dashboard and viewing the logs. The logs indicates that your LocalStack environment is configured correctly and you can now use the
mysamplebucketfor storing and retrieving objects.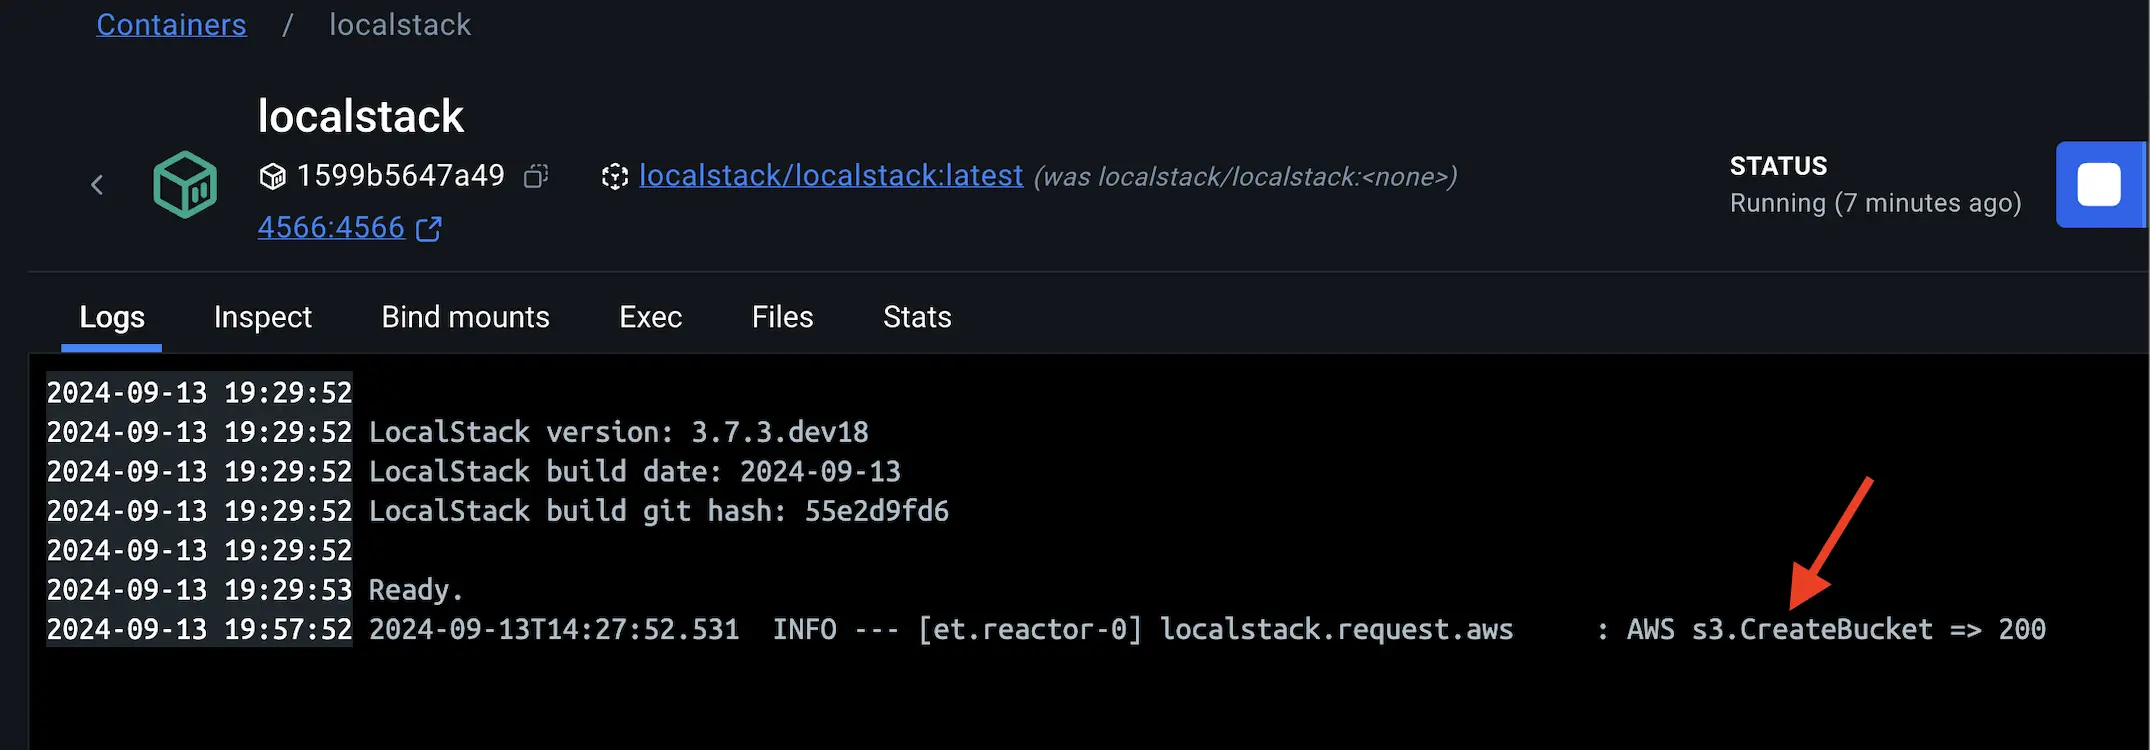
Using LocalStack in development
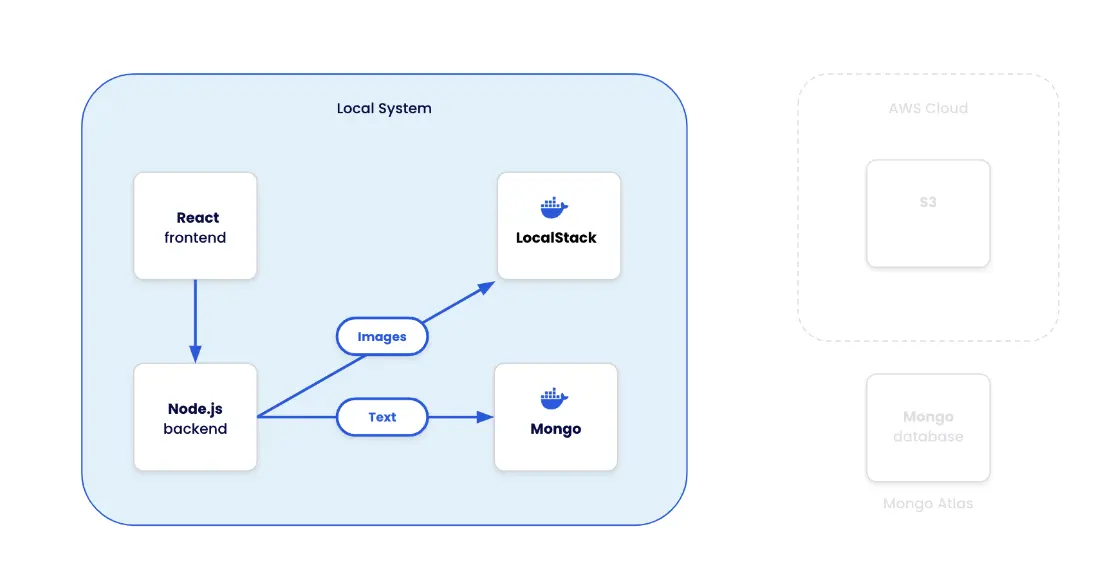
Now that you've familiarized yourself with LocalStack, it's time to see it in action. In this demonstration, you'll use a sample application featuring a React frontend and a Node.js backend. This application stack utilizes the following components:
- React: A user-friendly frontend for accessing the todo-list application
- Node: A backend responsible for handling the HTTP requests.
- MongoDB: A database to store all the to-do list data
- LocalStack: Emulates the Amazon S3 service and stores and retrieve images.
Connecting to LocalStack from a non-containerized app
Now it’s time to connect your app to LocalStack. The index.js file, located in the backend/ directory, serves as the main entry point for the backend application.
The code interacts with LocalStack’s S3 service, which is accessed via the endpoint defined by the S3_ENDPOINT_URL environment variable, typically set to http://localhost:4556 for local development.
The S3Client from the AWS SDK is configured to use this LocalStack endpoint, along with test credentials (AWS_ACCESS_KEY_ID and AWS_SECRET_ACCESS_KEY) that are also sourced from environment variables. This setup lets the application to perform operations on the locally simulated S3 service as if it were interacting with the real AWS S3, making the code flexible for different environments.
The code uses multer and multer-s3 to handle file uploads. When a user uploads an image through the /upload route, the file is stored directly in the S3 bucket simulated by LocalStack. The bucket name is retrieved from the environment variable S3_BUCKET_NAME. Each uploaded file is given a unique name by appending the current timestamp to the original filename. The route then returns the URL of the uploaded file within the local S3 service, making it accessible just as it would be if hosted on a real AWS S3 bucket.
Let’s see it in action. Start by launching the Node.js backend service.
Change to the backend/ directory
$ cd backend/Install the required dependencies:
$ npm installSetting up AWS environment variables
The
.envfile located in the backend/ directory already contains placeholder credentials and configuration values that LocalStack uses to emulate AWS services. TheAWS_ACCESS_KEY_IDandAWS_SECRET_ACCESS_KEYare placeholder credentials, whileS3_BUCKET_NAMEandS3_ENDPOINT_URLare configuration settings. No changes are needed as these values are already correctly set for LocalStack.Tip
Given that you’re running Mongo in a Docker container and the backend Node app is running natively on your host, ensure that
MONGODB_URI=mongodb://localhost:27017/todosis set in your.envfile.MONGODB_URI=mongodb://localhost:27017/todos AWS_ACCESS_KEY_ID=test AWS_SECRET_ACCESS_KEY=test S3_BUCKET_NAME=mysamplebucket S3_ENDPOINT_URL=http://localhost:4566 AWS_REGION=us-east-1While the AWS SDK might typically use environment variables starting with
AWS_, this specific application directly references the followingS3_*variables in the index.js file (under thebackend/directory) to configure the S3Client.const s3 = new S3Client({ endpoint: process.env.S3_ENDPOINT_URL, // Use the provided endpoint or fallback to defaults credentials: { accessKeyId: process.env.AWS_ACCESS_KEY_ID || 'default_access_key', // Default values for development secretAccessKey: process.env.AWS_SECRET_ACCESS_KEY || 'default_secret_key', }, });Start the backend server:
$ node index.jsYou will see the message that the backend service has successfully started at port 5000.
Start the frontend service
To start the frontend service, open a new terminal and follow these steps:
Navigate to the
frontenddirectory:$ cd frontendInstall the required dependencies
$ npm installStart the frontend service
$ npm run devBy now, you should see the following message:
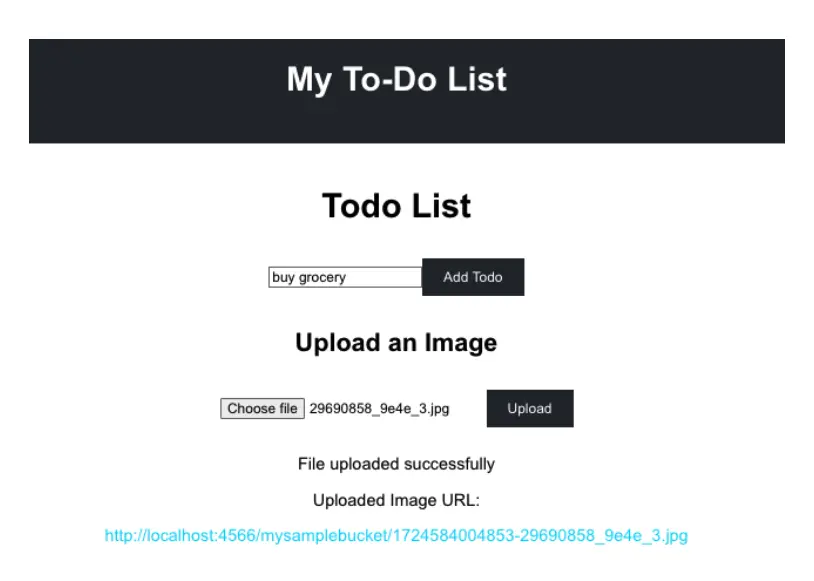
VITE v5.4.2  ready in 110 ms
➜  Local: http://localhost:5173/
➜  Network: use --host to expose
➜  press h + enter to show help
You can now access the app via http://localhost:5173. Go ahead, and upload an image by choosing an image file and clicking the Upload button.
You can verify the image is uploaded to the S3 bucket by checking the LocalStack container logs:
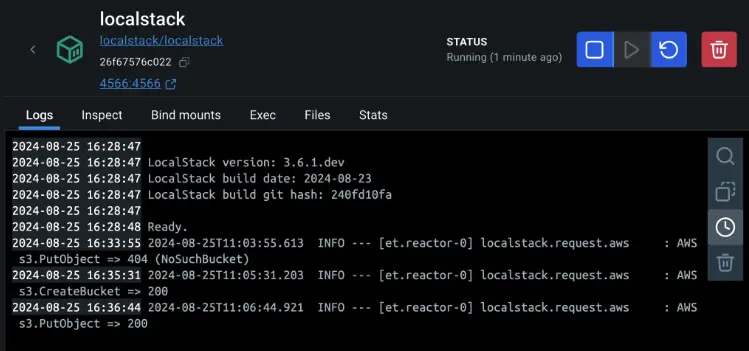
The
200status code signifies that theputObjectoperation, which involves uploading an object to the S3 bucket, was executed successfully within the LocalStack environment. LocalStack logs this entry to provide visibility into the operations being performed. It helps debug and confirm that your application is interacting correctly with the emulated AWS services.Since LocalStack is designed to simulate AWS services locally, this log entry shows that your application is functioning as expected when performing cloud operations in a local sandbox environment.
Connecting to LocalStack from containerized Node app
Now that you have learnt how to connect a non-containerized Node.js application to LocalStack, it's time to explore the necessary changes to run the complete application stack in a containerised environment. To achieve this, you will create a Compose file specifying all required services - frontend, backend, database, and LocalStack.
Examine the Docker Compose file.
The following Docker Compose file defines four services:
backend,frontend,mongodb, andlocalstack. Thebackendandfrontendservices are your Node.js applications, whilemongodbprovides a database andlocalstacksimulates AWS services like S3.The
backendservice depends onlocalstackandmongodbservices, ensuring they are running before it starts. It also uses a .env file for environment variables. The frontend service depends on the backend and sets the API URL. Themongodbservice uses a persistent volume for data storage, andlocalstackis configured to run the S3 service. This setup lets you to develop and test your application locally with AWS-like services.services: backend: build: context: ./backend dockerfile: Dockerfile ports: - 5000:5000 depends_on: - localstack - mongodb env_file: - backend/.env frontend: build: context: ./frontend dockerfile: Dockerfile ports: - 5173:5173 depends_on: - backend environment: - REACT_APP_API_URL=http://backend:5000/api mongodb: image: mongo container_name: mongodb volumes: - mongodbdata:/data/db ports: - 27017:27017 localstack: image: localstack/localstack container_name: localstack ports: - 4566:4566 environment: - SERVICES=s3 - GATEWAY_LISTEN=0.0.0.0:4566 volumes: - ./localstack:/docker-entrypoint-initaws.d" volumes: mongodbdata:Modify the
.envfile under thebackend/directory to have the resources connect using the internal network names.Tip
Given the previous Compose file, the app would connect to LocalStack using the hostname
localstackwhile Mongo would connect using the hostnamemongodb.MONGODB_URI=mongodb://mongodb:27017/todos AWS_ACCESS_KEY_ID=test AWS_SECRET_ACCESS_KEY=test S3_BUCKET_NAME=mysamplebucket S3_ENDPOINT_URL=http://localstack:4566 AWS_REGION=us-east-1Stop the running services
Ensure that you stop the Node frontend and backend service from the previous step by pressing “Ctrl+C” in the terminal. Also, you'll need to stop the LocalStack and Mongo containers by selecting them in the Docker Dashboard and selecting the "Delete" button.
Start the application stack by executing the following command at the root of your cloned project directory:
$ docker compose -f compose.yml up -d --buildAfter a brief moment, the application will be up and running.
Create an S3 bucket manually
The AWS S3 bucket is not created beforehand by the Compose file. Run the following command to create a new bucket within the LocalStack environment:
$ awslocal s3 mb s3://mysamplebucketThe command creates an S3 bucket named
mysamplebucket.Open http://localhost:5173 to access the complete to-do list application and start uploading images to the Amazon S3 bucket.
Tip
To optimize performance and reduce upload times during development, consider uploading smaller image files. Larger images may take longer to process and could impact the overall responsiveness of the application.
Recap
This guide has walked you through setting up a local development environment using LocalStack and Docker. You’ve learned how to test AWS-based applications locally, reducing costs and increasing the efficiency of your development workflow.